Using the hub
The H5P Hub is designed with user experience in focus and should be as intuitive as possible to use. In this guide we will go into detail on the different parts that makes up the structure of the H5P Hub client, and how they all work together.
Using the hub
You will come across the H5P Hub client when you want to create new or edit old content. The Hub selector has replaced the select box where you typically would select from already installed content types. The new selector allows you to update, discover and install content types, in addition to selecting the one you want to start using.
Opening the hub
When meeting the Hub for the first time it is a slim drop-down selector.
Pressing the drop-down will open up a menu with different parts.
The drop-down that you clicked also functions as a status bar and will display a throbber while loading data. It will also be used to display what kind of content type is currently selected when working with the authoring tool.
The authoring tool itself should be familiar, but in order to get there we must “use” a content type, which is one of the available actions to take after opening the hub.
We will explore the Hub from top to bottom through the different sections.
Selecting a mode
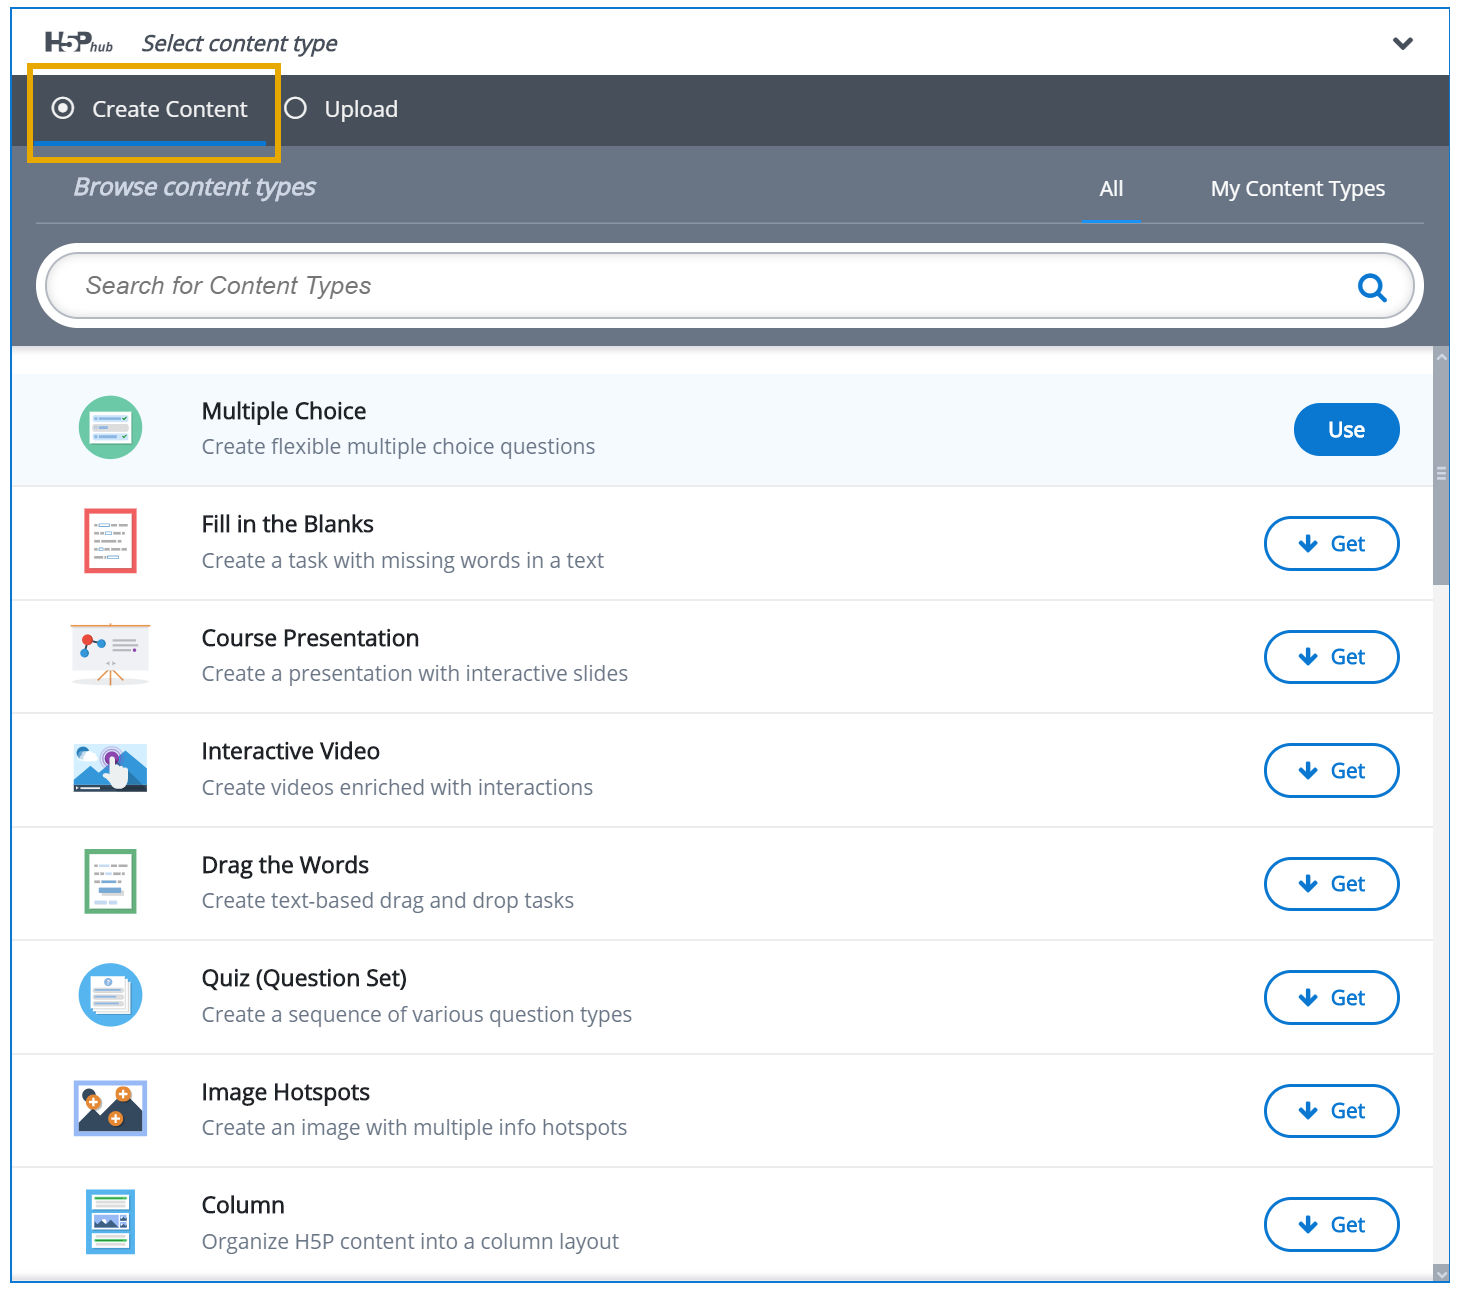
At the top of the Hub client, right beneath the drop-down selector you can choose between two “modes”.
These modes should be familiar if you have used H5P before, but have now been moved into a new graphical interface.
Create content:
Allows you to explore installed and available content types. From this menu you will be able to learn more about a content type, installing it and and creating content with it.
Upload:
Allows you to upload an exported .h5p content type that you have downloaded previously. When uploading it you may proceed directly to modifying it before saving the content, which is an efficient upgrade from the previous system that required you to save, then edit the content.
When creating new content or acquiring new content types you will want to choose the create content mode.
Browse content types
The section below the drop-down modes is the browse orders. These options determines in which order the content types are displayed. The order will be reflected in the content type list after it has been filtered through search words, if you have provided any.
Search field
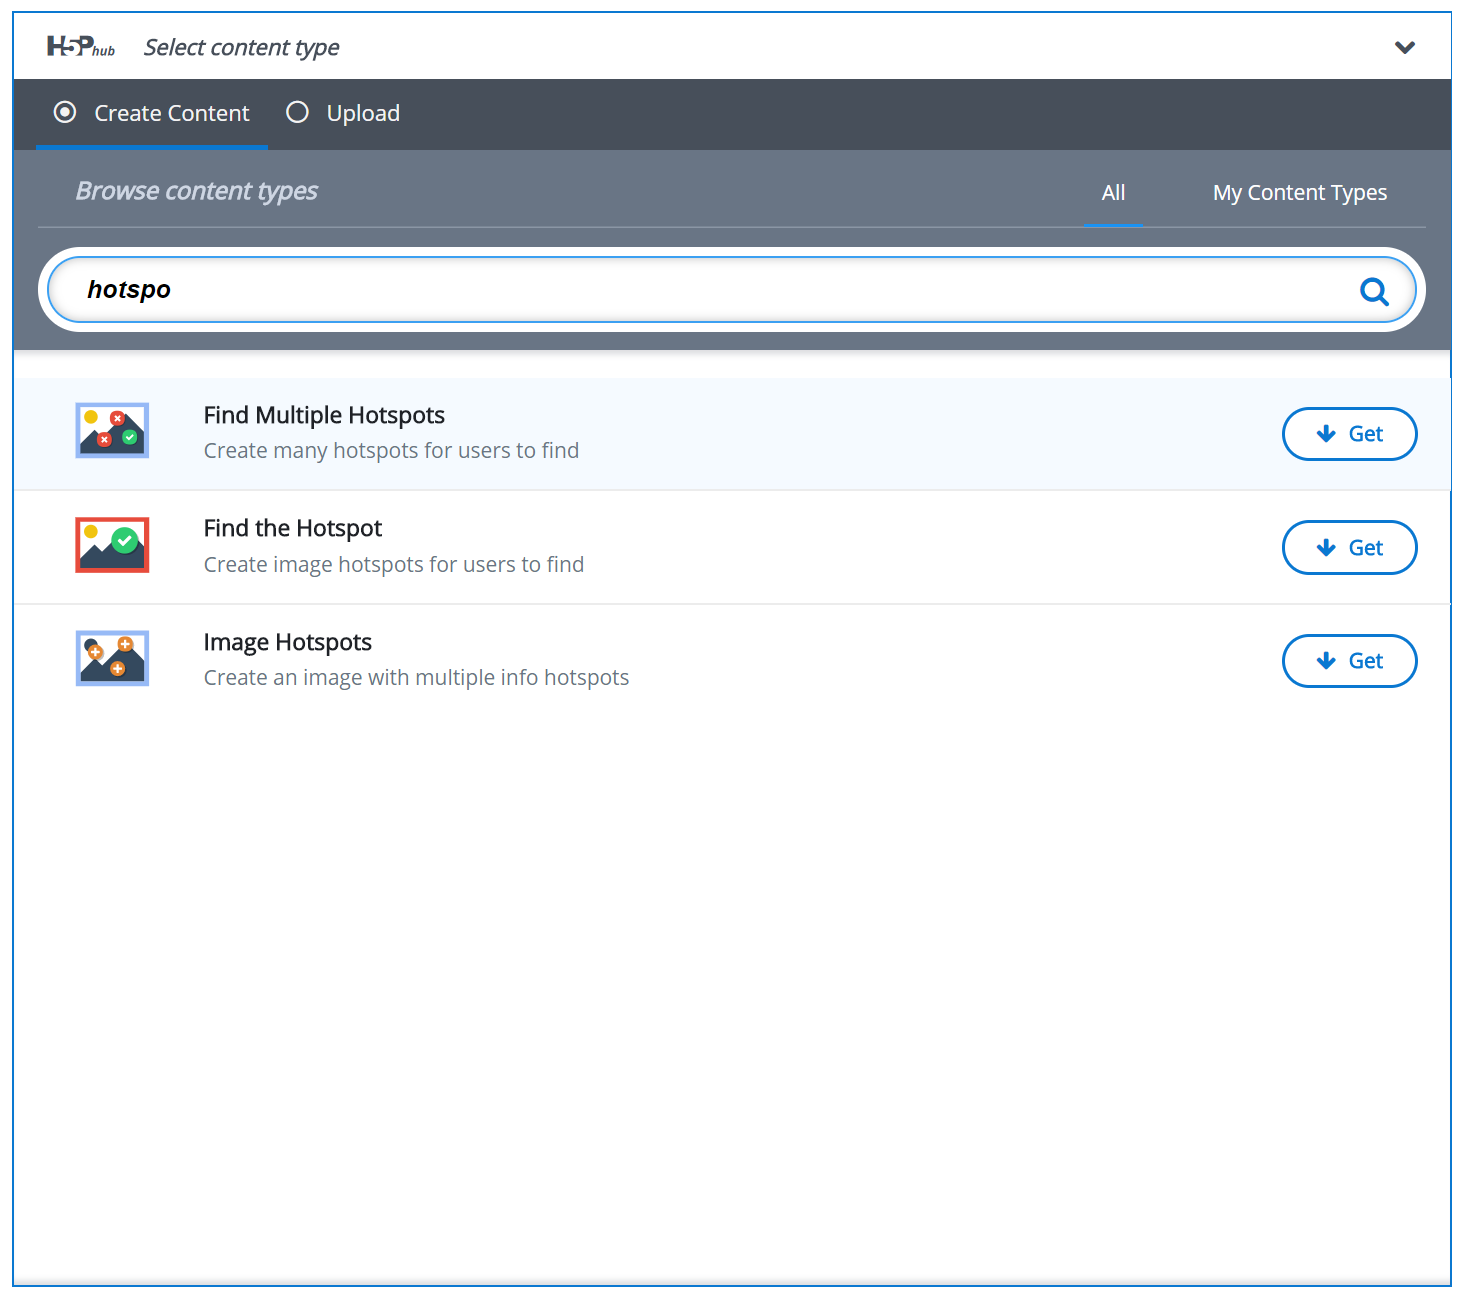
Your main means of finding a suitable content type for your needs is the search field. It allows you to search for specific keywords or phrases that are important for the content you have in mind.
The search will tokenize your search phrases and return your results by weighting them in the following order.
Title:
The name of the content type. If you are already familiar with a content type and just want to quickly find it this is the easiest search to hit.
Summary:
A short description of a content type that should capture the main use case for it. A very useful search part when you don’t recall the title, but rather the behaviour of a content type, or have a pretty decent idea of what you want from a content type.
Description:
A more in-depth description of what a content type can do, that may not be obvious at first glance.
Keywords:
Perhaps the most useful search index when trying to discover new content types for an idea that you have vaguely mapped out. May contain keywords on a content type's discipline, behaviour or other significant parts of the content type, designed to help you discover it.
The content types are first ordered through your selected browse setting, then filtered through your search phrases. The search results are filtered immediately upon typing to facilitate the smoothest possible search and discoverability.
The results of browse settings and search phrases are shown in the content types list.
Content type list
The content type list may be ordered and filtered. It is designed to give a quick overview of the content types that you are trying to find.
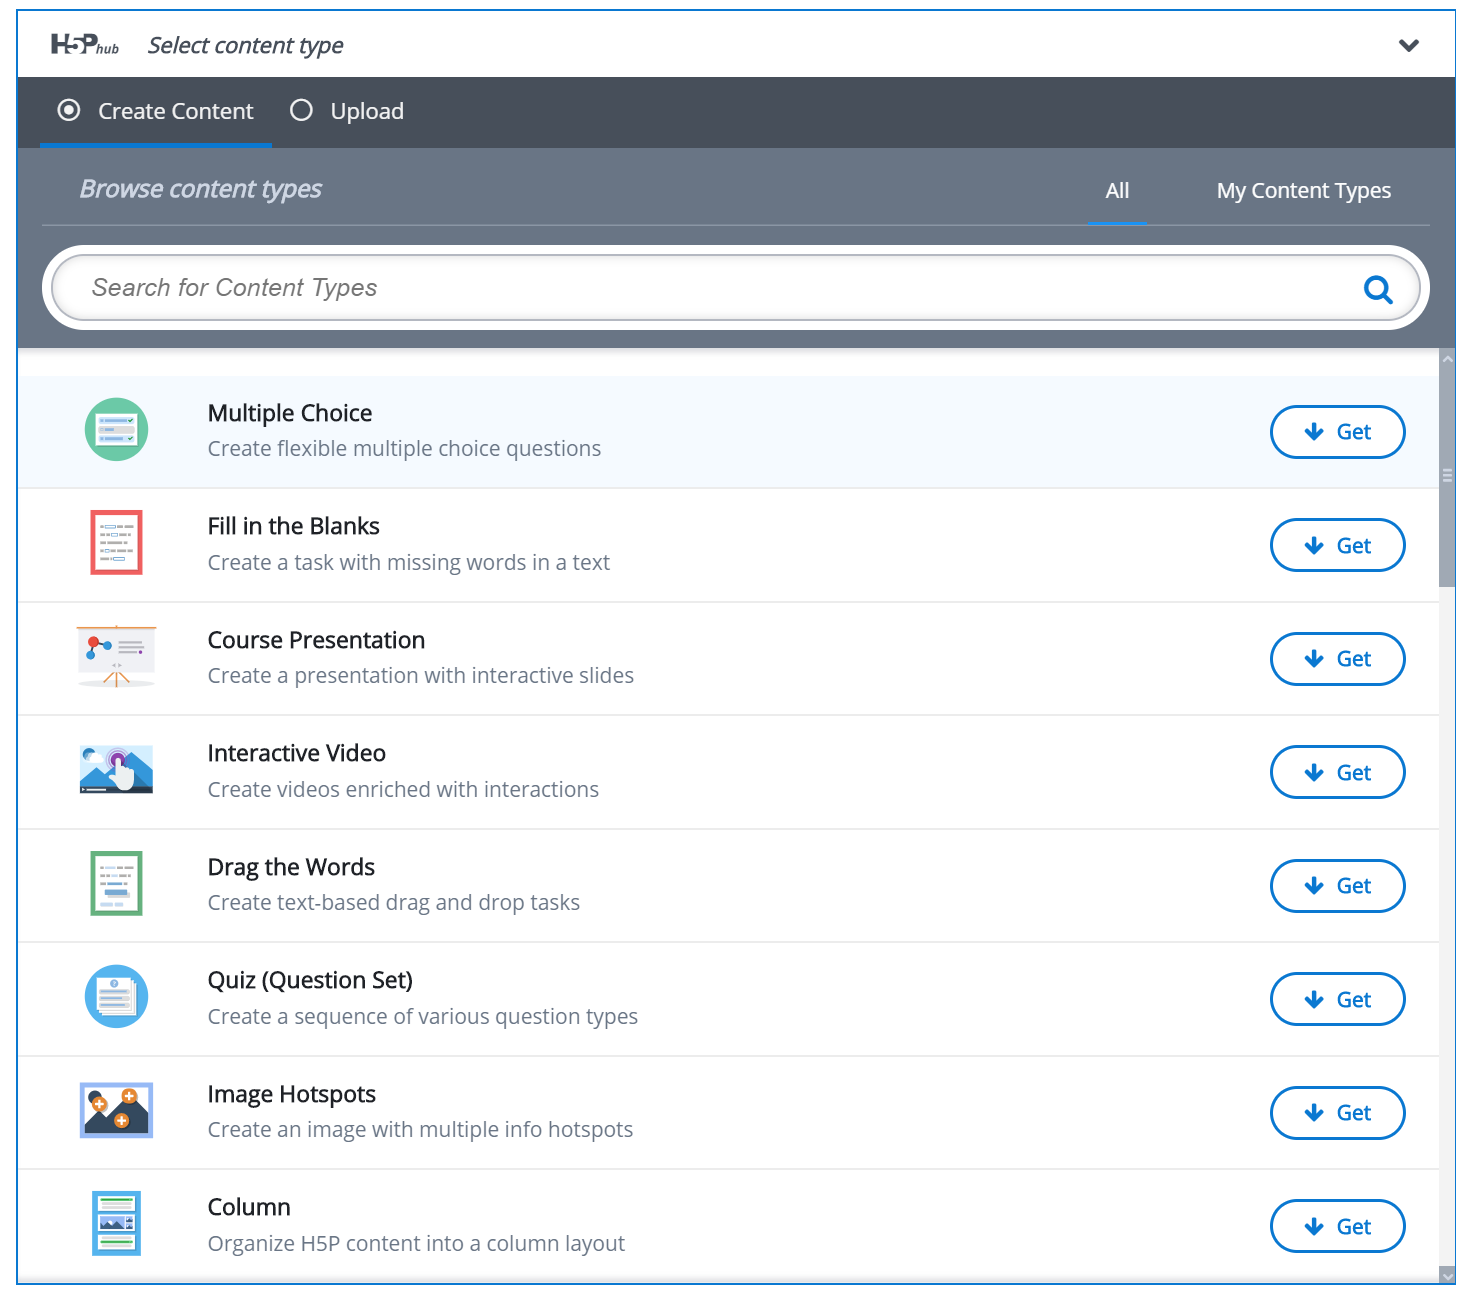
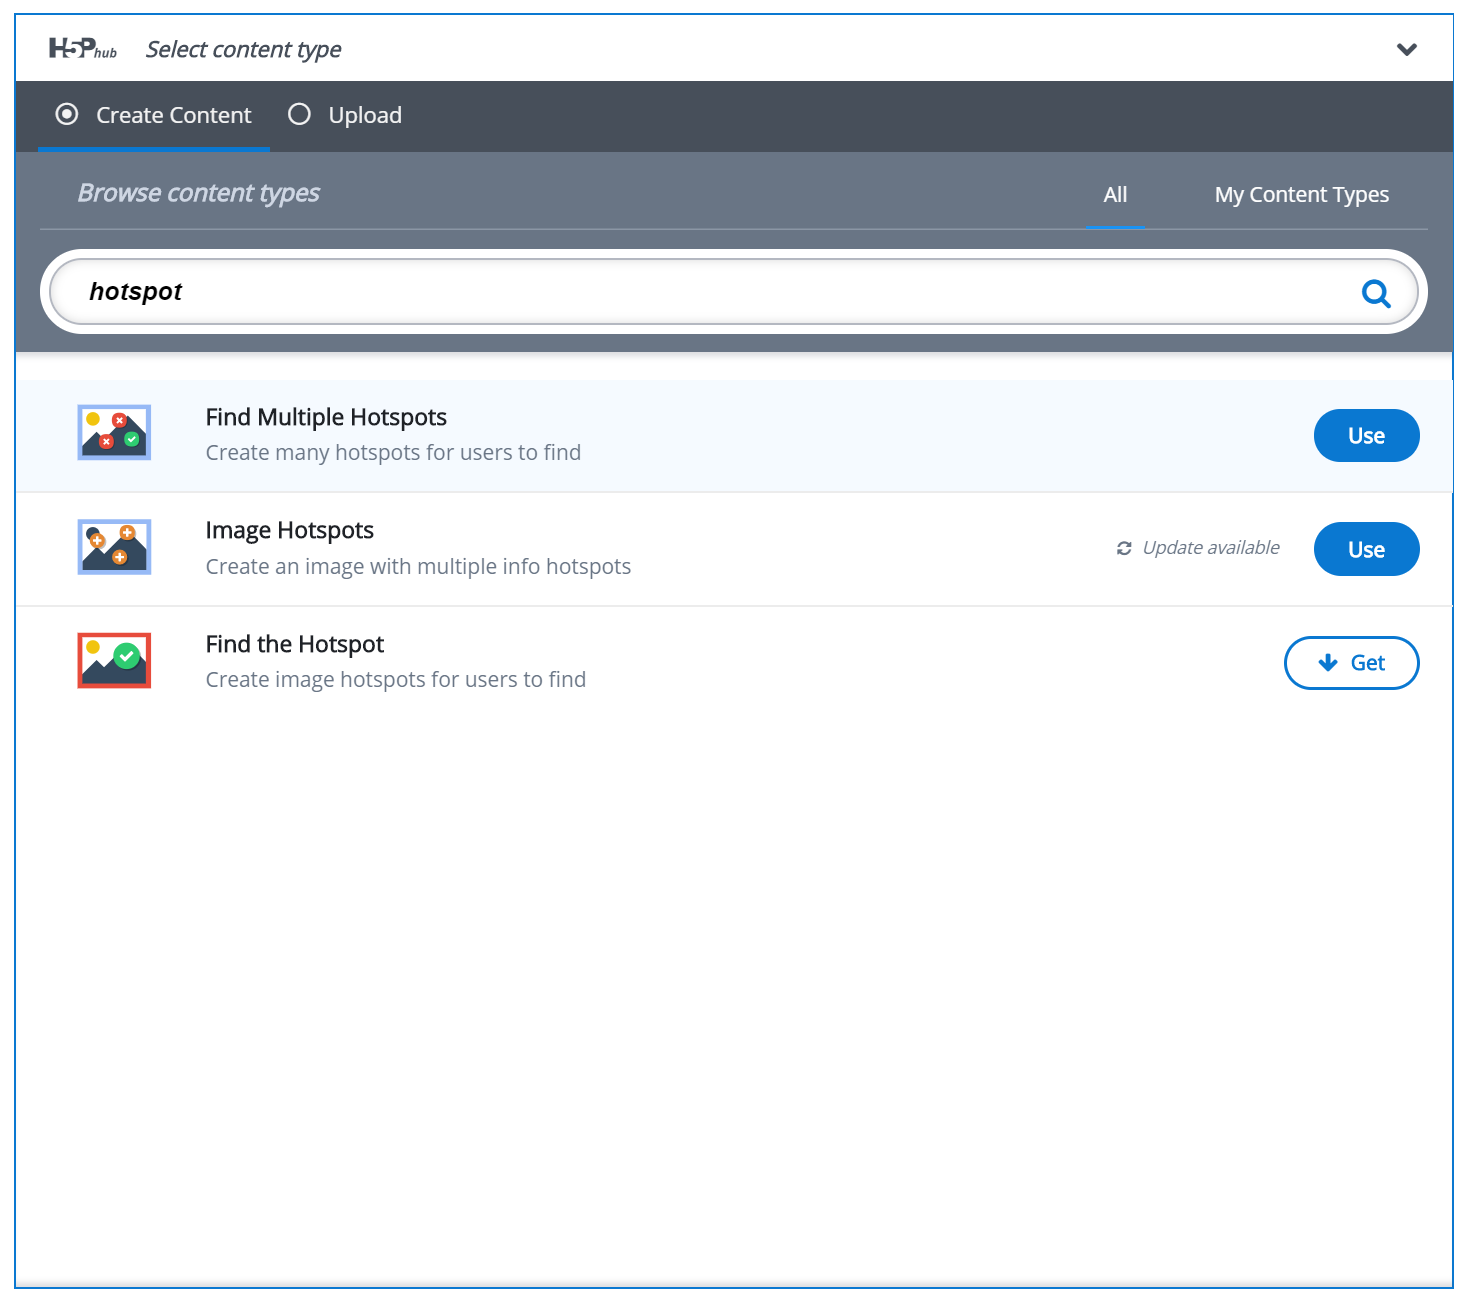
Listed content types are shown with an icon, a title and a short summary of what it does. On the right side of each content type you can find its local state, which determines the actions you can take, as listed below.
Use:
The content type is already installed locally. You may immediately enter the authoring tool of the content type by clicking the use button.
Install:
The content type is registered with the H5P Hub, but is not yet available locally. When you click install you will be taken to the detailed view of the content type where you can install it directly from the H5P Hub. When the content type has been installed the 'install' buttom will be renamed as “use”, and you can create content using this content type.
Update:
The content type is already installed locally, but it is not using the latest available version from the H5P Hub. You may still use the version that you have, or you can update the content type to the latest version. It is always recommended to keep up to date with the latest releases in order to have the latest improvements, bug fixes and language translations.
If you click on install, update or on the content type list item you will be taken to its detailed view.
Detailed view
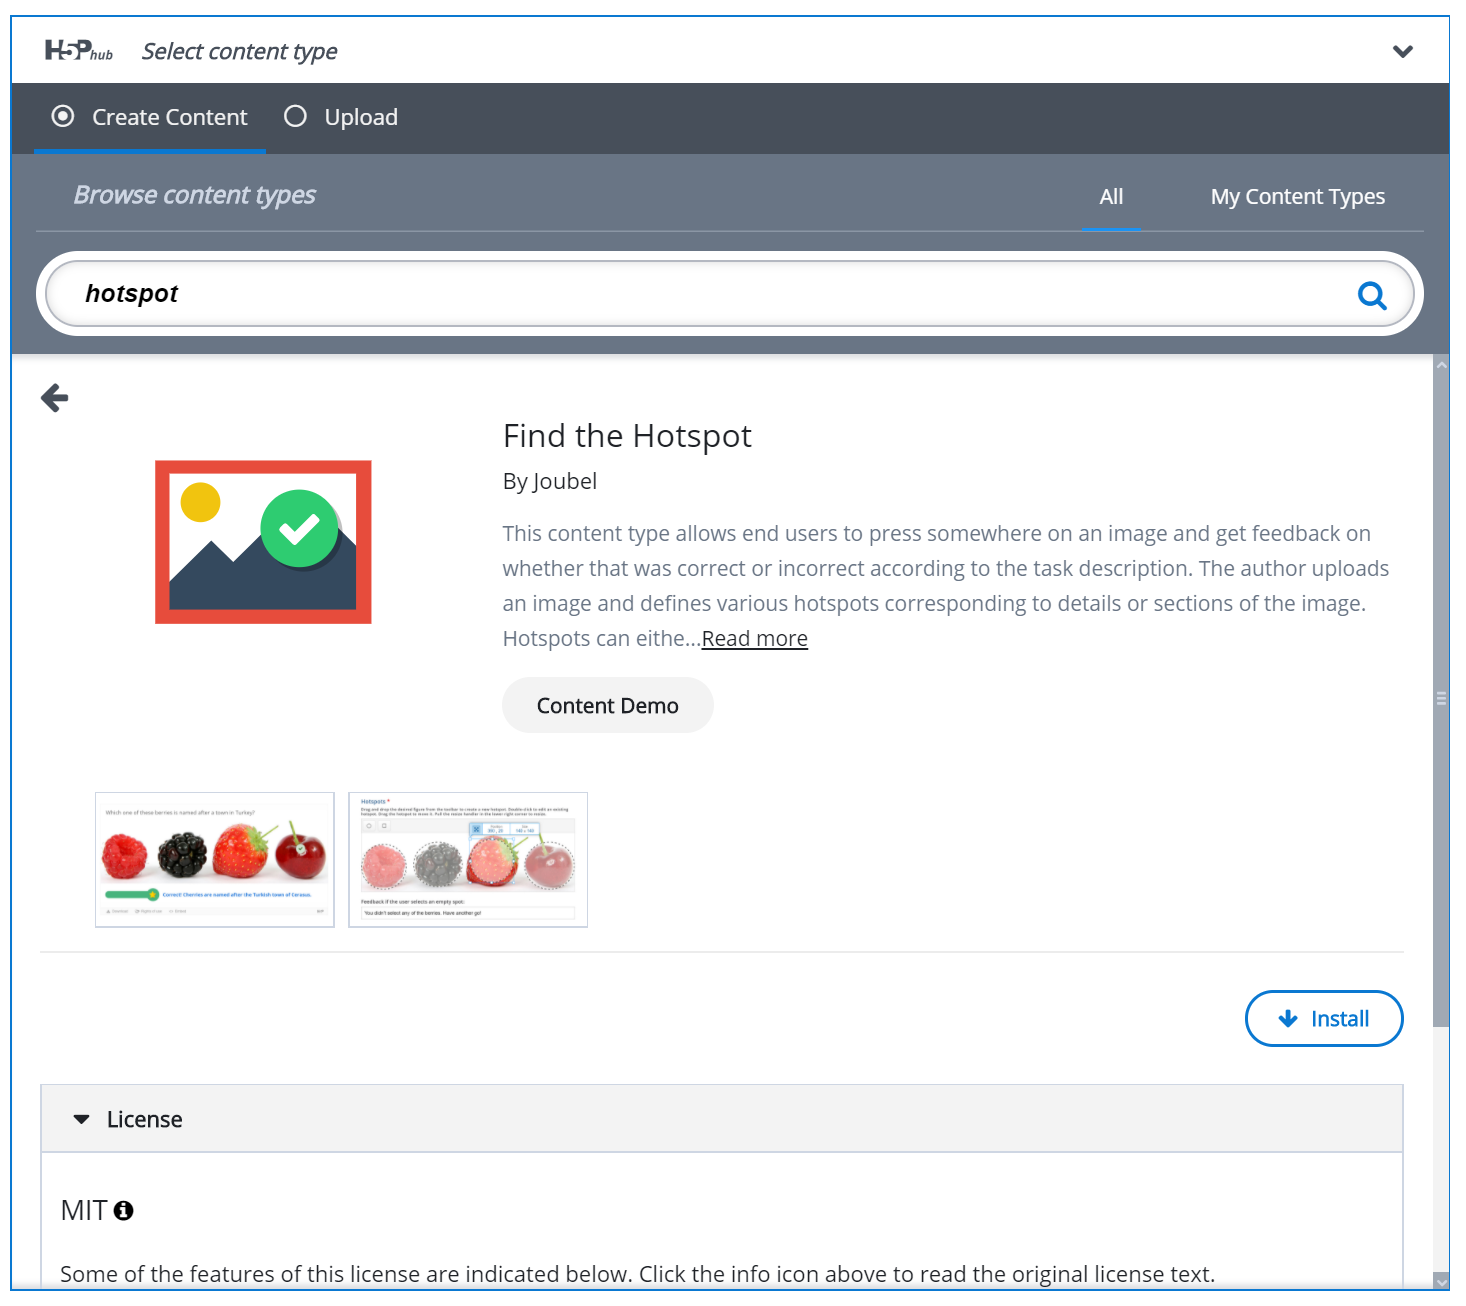
The detailed view allows you to figure out if the content type fits with what you are trying to create. It contains a detailed description, link to an example, screenshots and license info. You are also able to install or update the content type from here.



Comments
jcital1029
Thu, 10/14/2021 - 03:07
Permalink
allow users to create their own content
I readh there is some shortcode to allow users access to the hub and have them create content to add to page.
I can't seem to find the code on your page?
Thanks
luisjfeo
Tue, 01/30/2024 - 04:01
Permalink
Missing Site UUID
Hello. I am using Moodle 4.3+. With h5p. I am seeing this message ahd i don't know what to do: "Missing Site or Hub Secret. Please check your hub registraton" Thanks.
digiandrew
Tue, 07/09/2024 - 16:27
Permalink
Missing Site or Hub Secret. Please check your hub registraton
Same here. I've read dozens of posts about this - from disabling on Moodle to communications using Guzzle.
Can someone give a URL where I can "check your hub registraton"? I've searched H5P.org and cannot find any registration. Perhaps it is in Moodle configuration?
thanks!