Image Pairing Tutorial
Image pairing is a simple and effective activity that requires learners to match pairs of images. Since it is not required for both images in a pair to be the same, authors are also able to test the understanding of a relation between two different images.
In this tutorial you will learn:
- When to use Image Pairing
- How to create an Image Pairing activity
Click the "Get started" button to explore all of the possible ways to use H5P!
Example
Here's the Image Pairing activity we'll create in this tutorial:
When to use Image Pairing
The Image pairing activity lists one group of images on the left side and another group on the right side. The task is solved by dragging images from one side to match the corresponding image on the other side. The activity can be used for any task that requires the user to match one object with another, for example:
Match a country flag with the country map, match an object with a place where it is found, match a tree with its leaves, etc...
Step 1: Topic
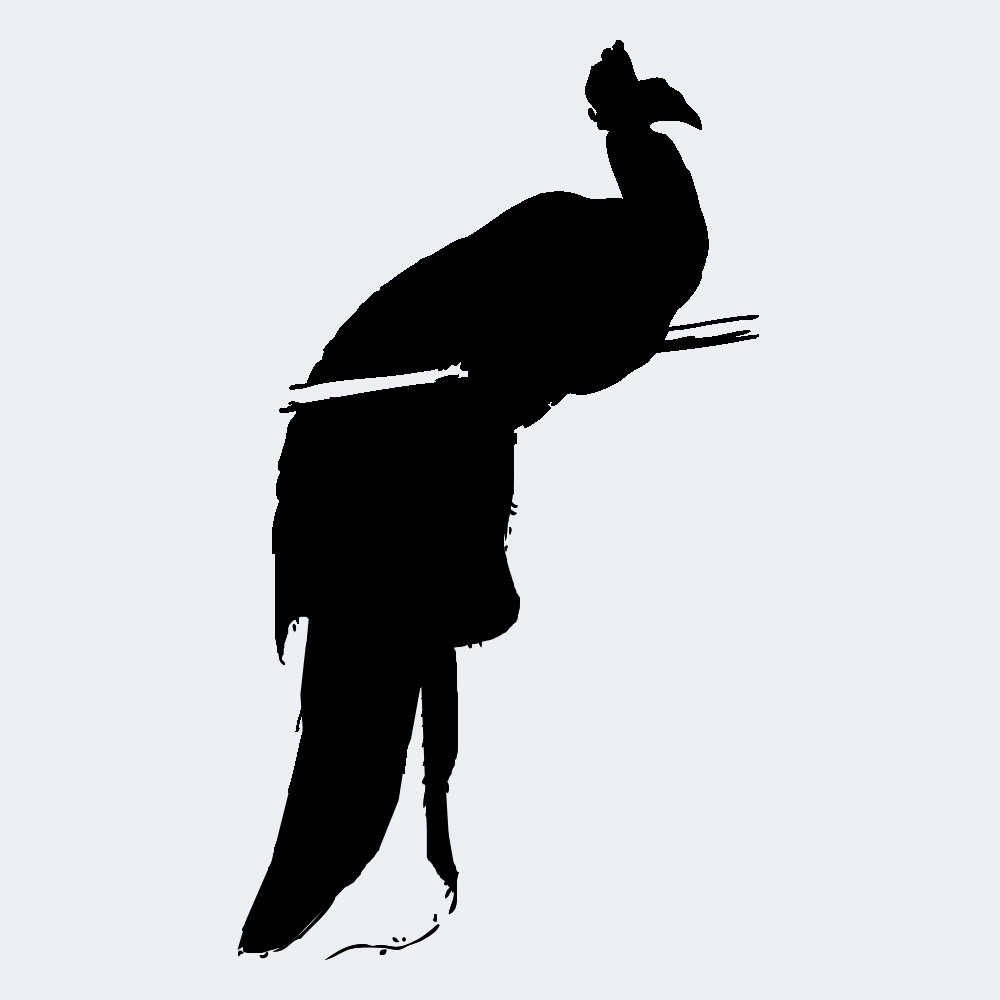
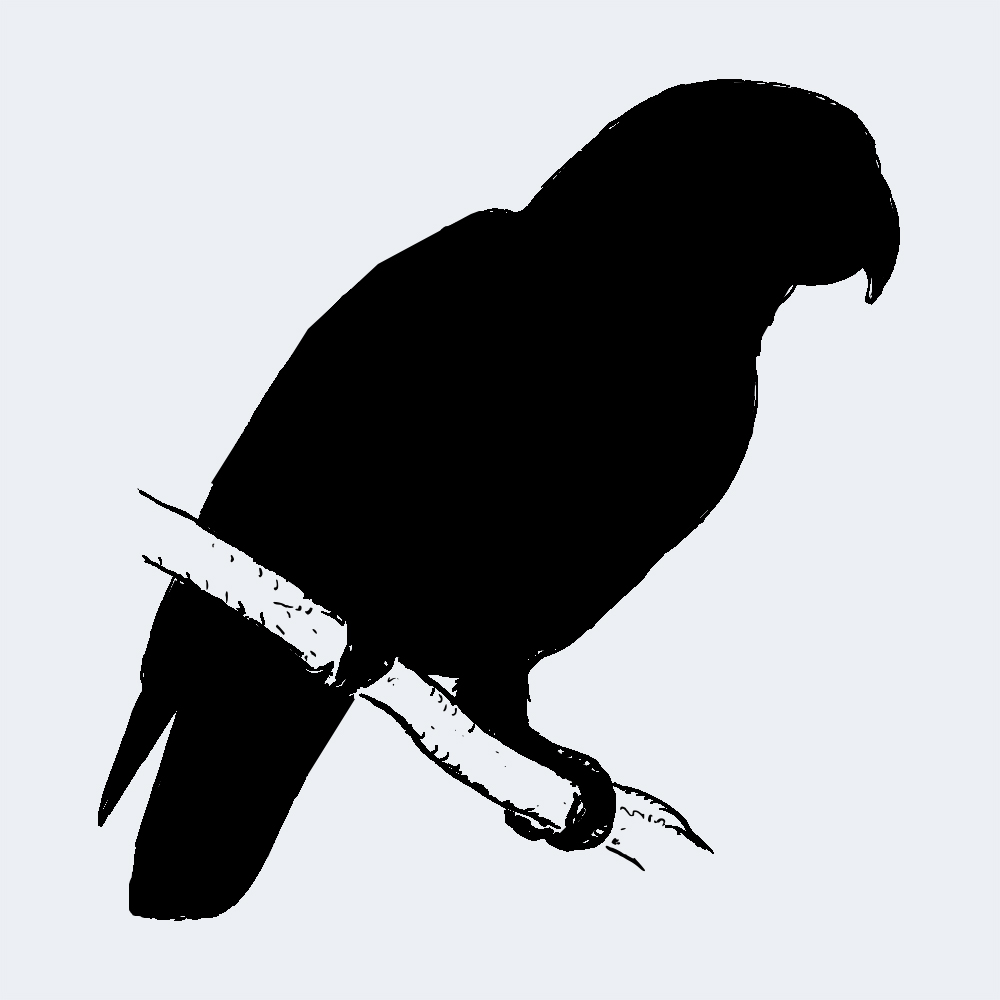
In this example, we are going to match images of animals with images of what fur/feather they have. Animals we are going to match are:
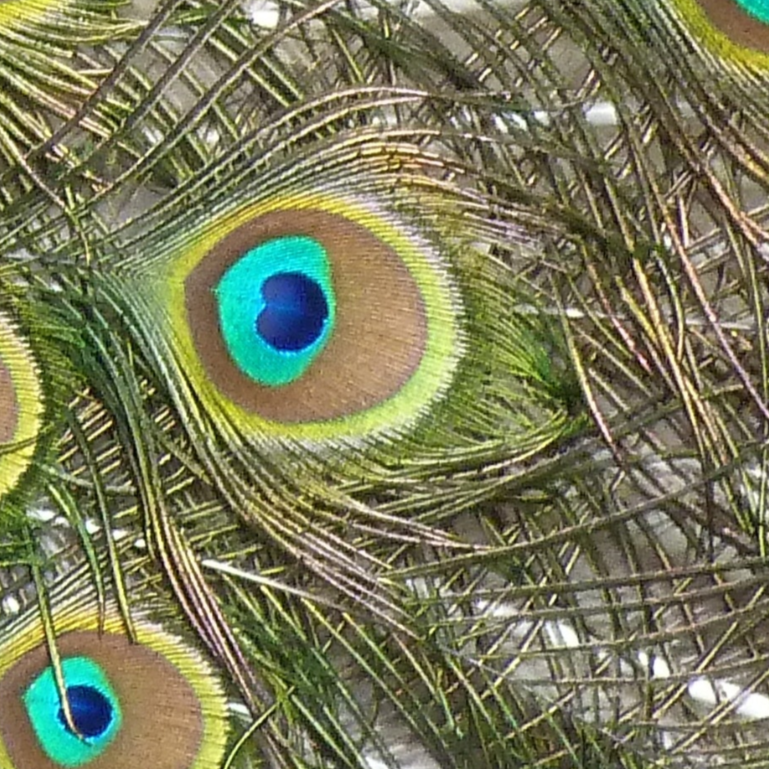
Flamingo, Peacock, Tiger, Jaguar, Zebra, and Parrot
Step 2: Creating an Image Pairing
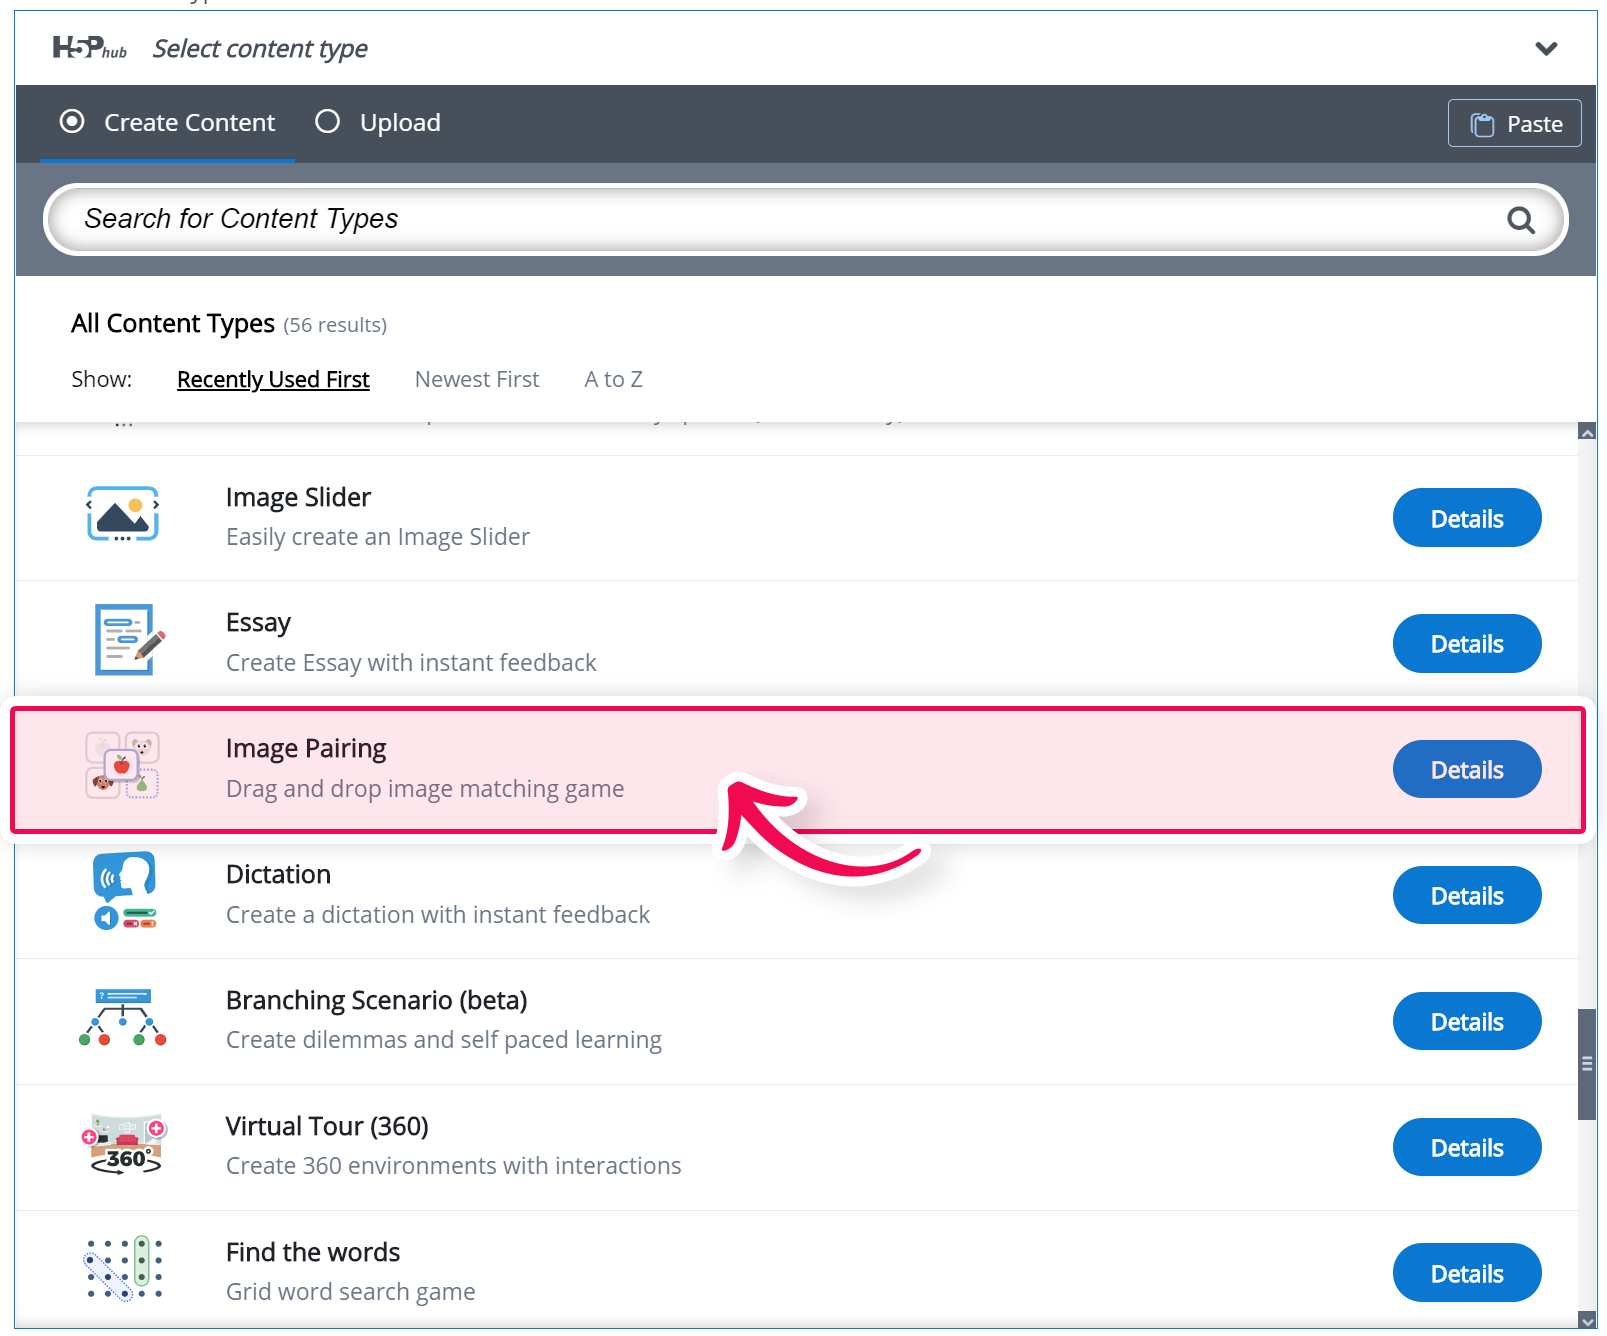
Select the New content option and choose Image Pairing from the list of Content types:
Step 3: Image Pairing editor
The Image Pairing editor should now appear. The editor should look something like this:
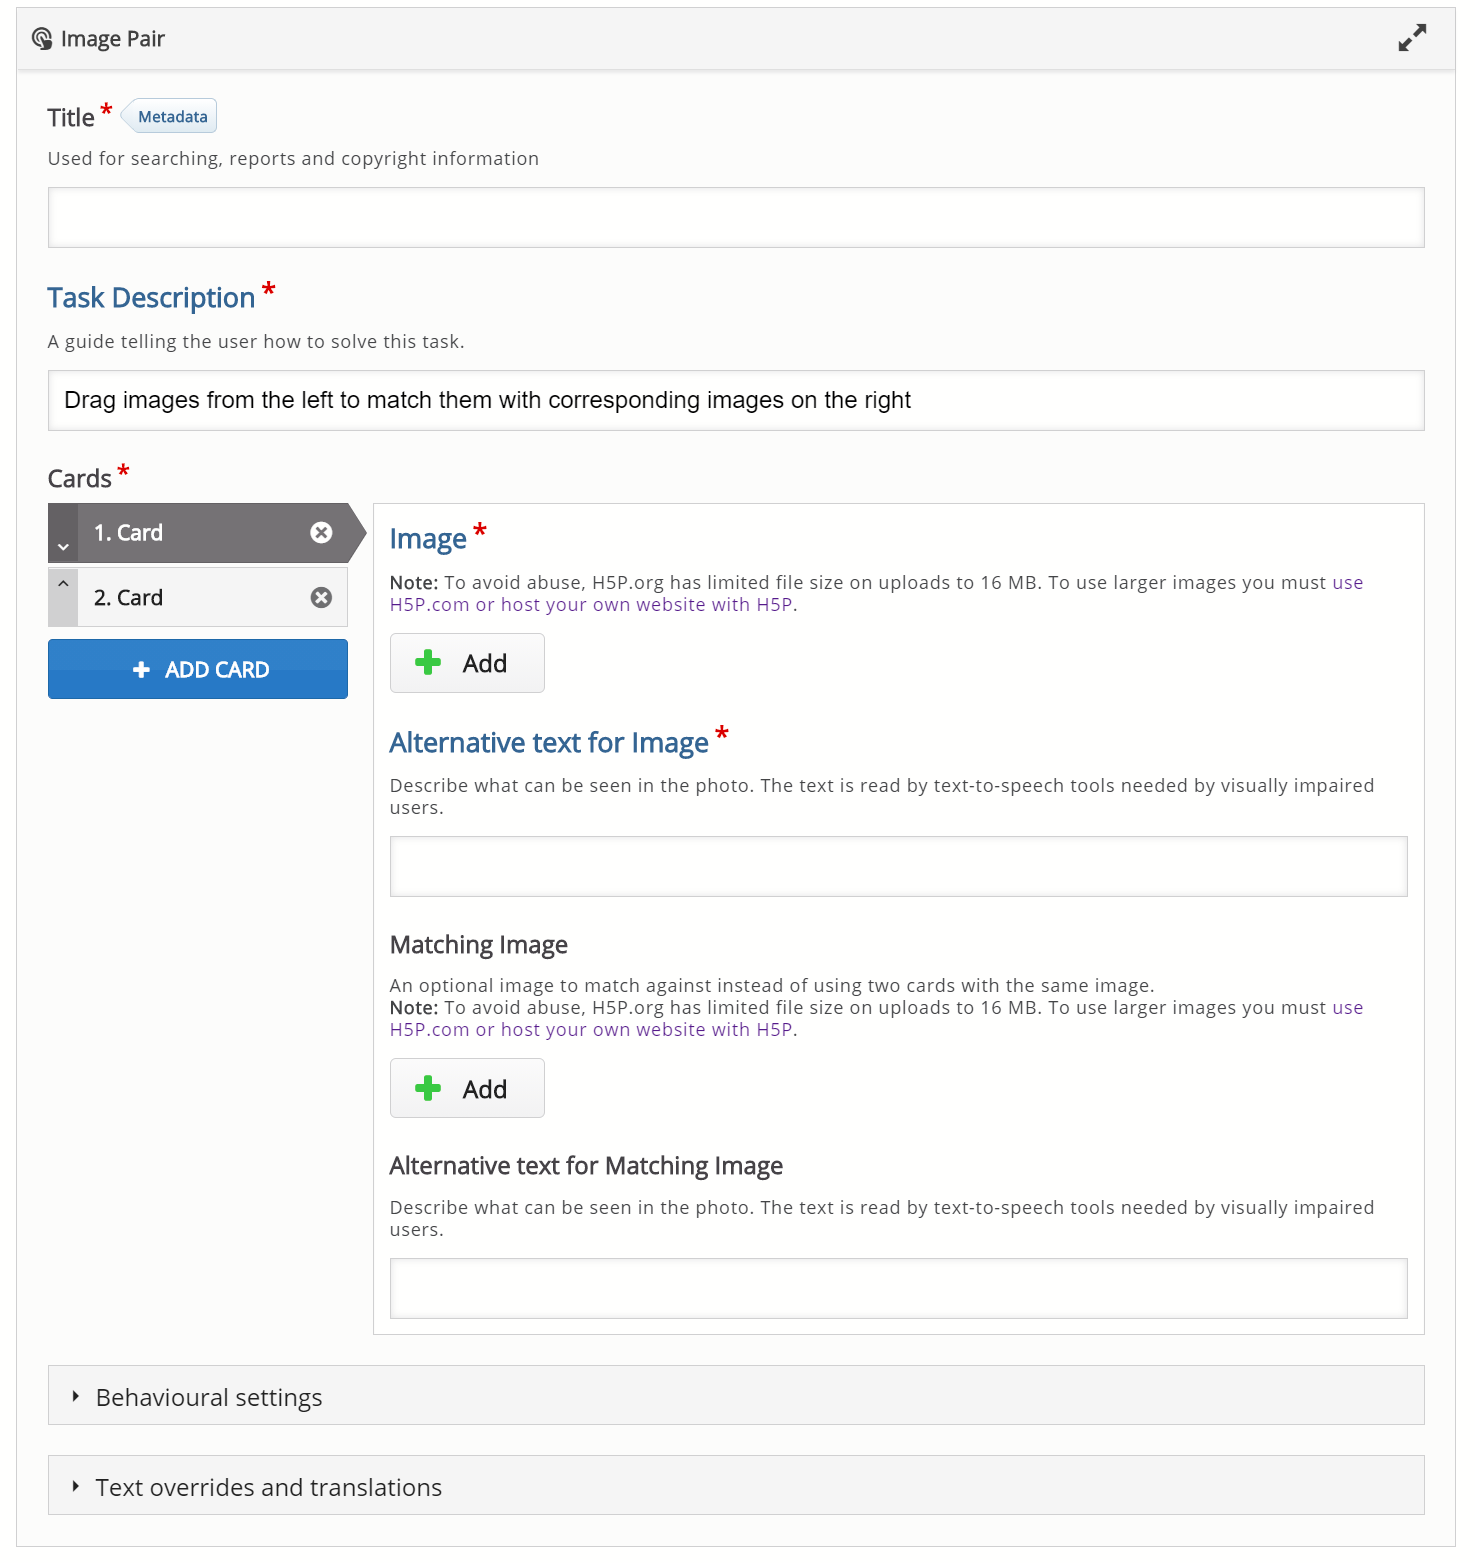
In this tutorial, we'll focus on creating the Image Pairing content using the above example.
Step 4: Preparing content
Before we start creating content please download the following images to your computer:
Animals: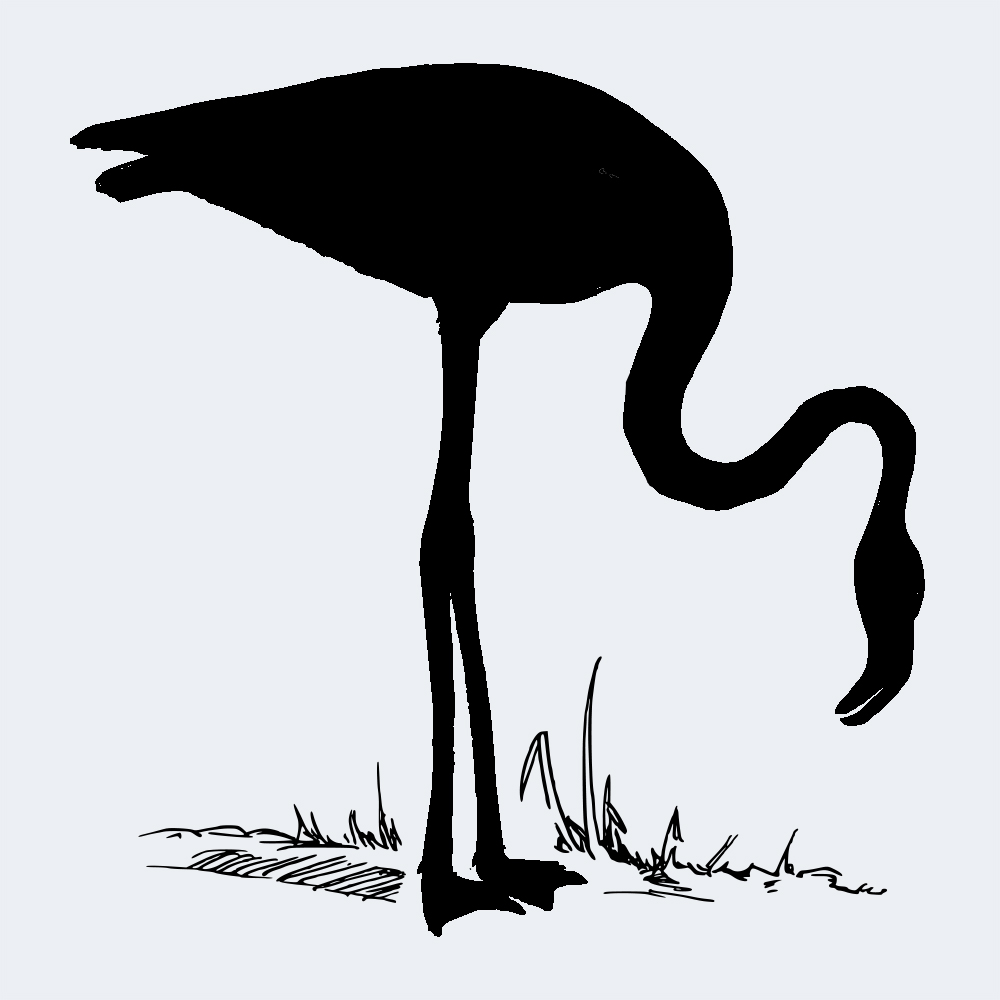


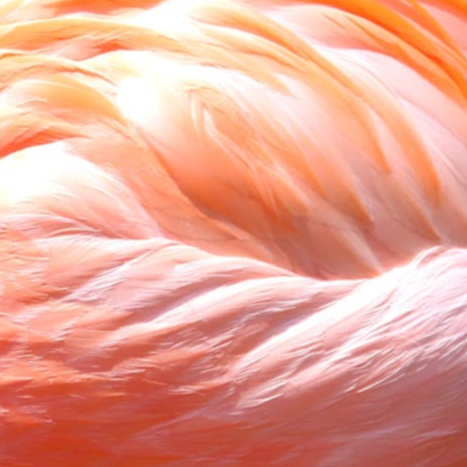
Fur/feather patterns:
To do this, right-click at each image and choose "Save image as..."
Now, when we have all images prepared, we can proceed to create content.
Step 5: Creating content
In the section "Cards" for "Image" click "Add image" and upload the image of the flamingo. For "Matching image" upload the image of a pink feather. It should look like this: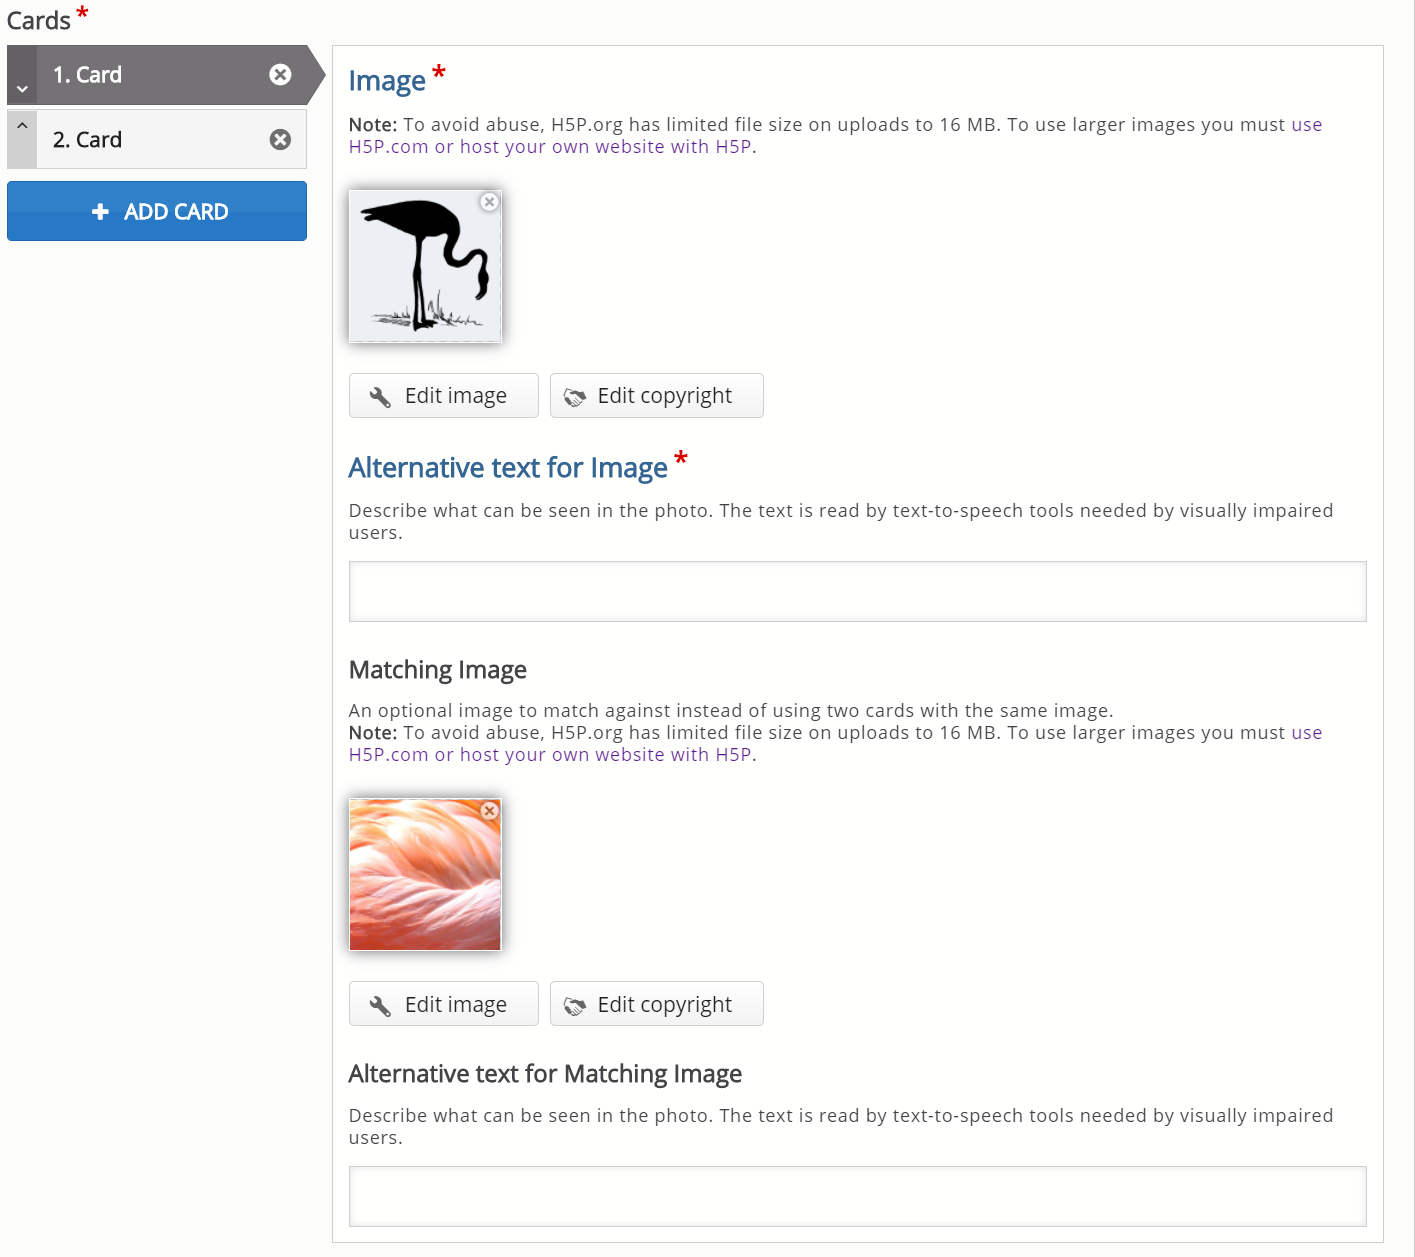
Repeat the process for the rest. A new card is added by clicking on the blue "Add Card" button. In the end, you should have 6 cards.
Step 6: Finishing up
Save the node/article to view your finished Image Pairing activity.
You should now have the same result as the example at the top of the page.
Feel free to leave any comments or suggestions on how to improve this tutorial.
Comments
Juan Vargas
Wed, 06/23/2021 - 02:08
Permalink
NO ENTIENDO
quiero hacer actividades interactivas pero por mas que busco la edición no puedo
BV52
Wed, 06/23/2021 - 19:04
Permalink
Hi Juan,To provide a best
Hi Juan,
To provide a best possible experience for new users and to ensure that people use H5P.org only for trying out H5P (we've had more traffic than our server can handle lately, ref also the warnings when you create content, embed content and view the content) there are limited content types that are available.
Check the getting started page for information on how you can use all the content types and use H5P for real. We unfortunately are not able to provide free hosting, only free software :) Hopefully you'll consider supporting the H5P Core Team by using H5P.com.
-BV
adren13
Sat, 09/04/2021 - 21:51
Permalink
Several Image Pairing activities
Hi,
I have written a few image pairing activities (btw : very nice ressource !).
I intend to use shortcodes to insert all of them in a single WordPress article.
How do I get access to the individual scores and also to the total (= sum of individual scores) ?
Thank you.
erin.wandering.brown
Mon, 04/25/2022 - 20:27
Permalink
Image Pairing
I have an account and am trying to to create an Image Pairing, but don't see it as an option for content type... am I missing it?
Thanks!
BV52
Tue, 04/26/2022 - 20:18
Permalink
Hi Erin,If I'm not mistaken I
Hi Erin,
If I'm not mistaken I have replied to you through an email you sent to H5P.com support.
-BV