Image Slider Tutorial
Image Slider can be used to present images in an appealing way. Images appear in a carousel with navigational arrows on each side.
In this tutorial, you will learn:
- When to use an Image Slider
- How to create an Image Slider
Click the "Get started" button to explore all of the possible ways to use H5P!
Example
Here's the Image Slider we'll create in this tutorial:
When to use Image Slider
Image sliders can be used whenever you want to show many images and you are limited with space.
Step 1: Topic
In this example, we are going to create an image slider of food images.
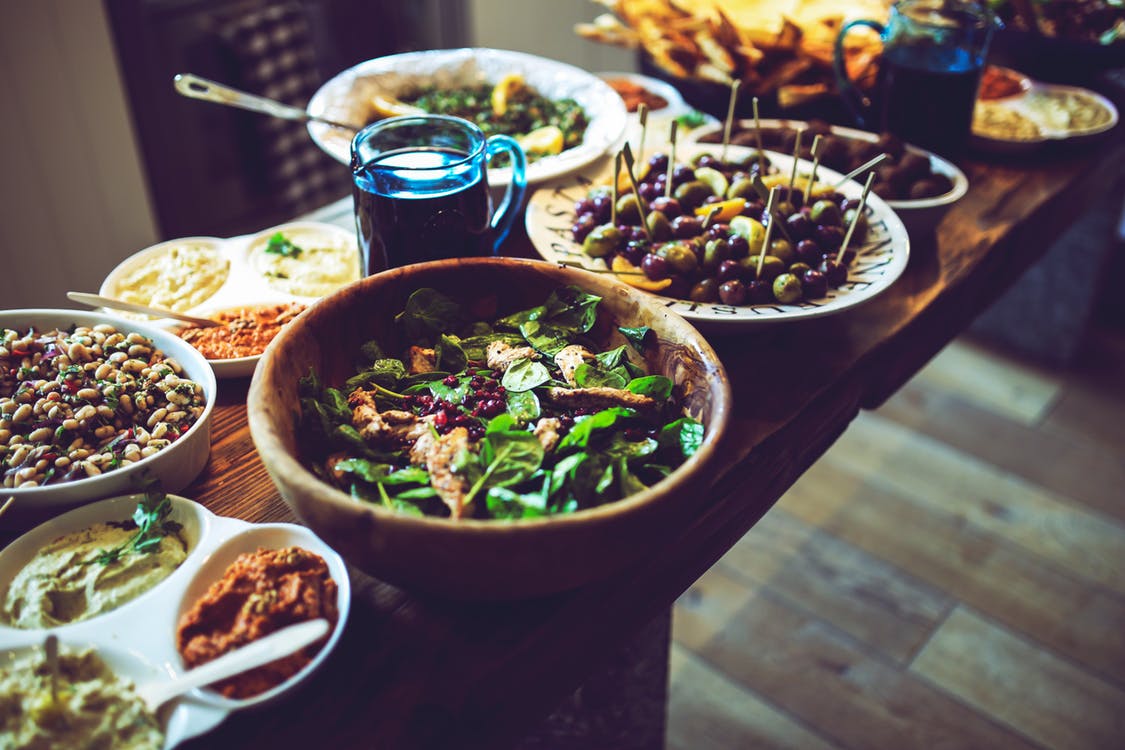
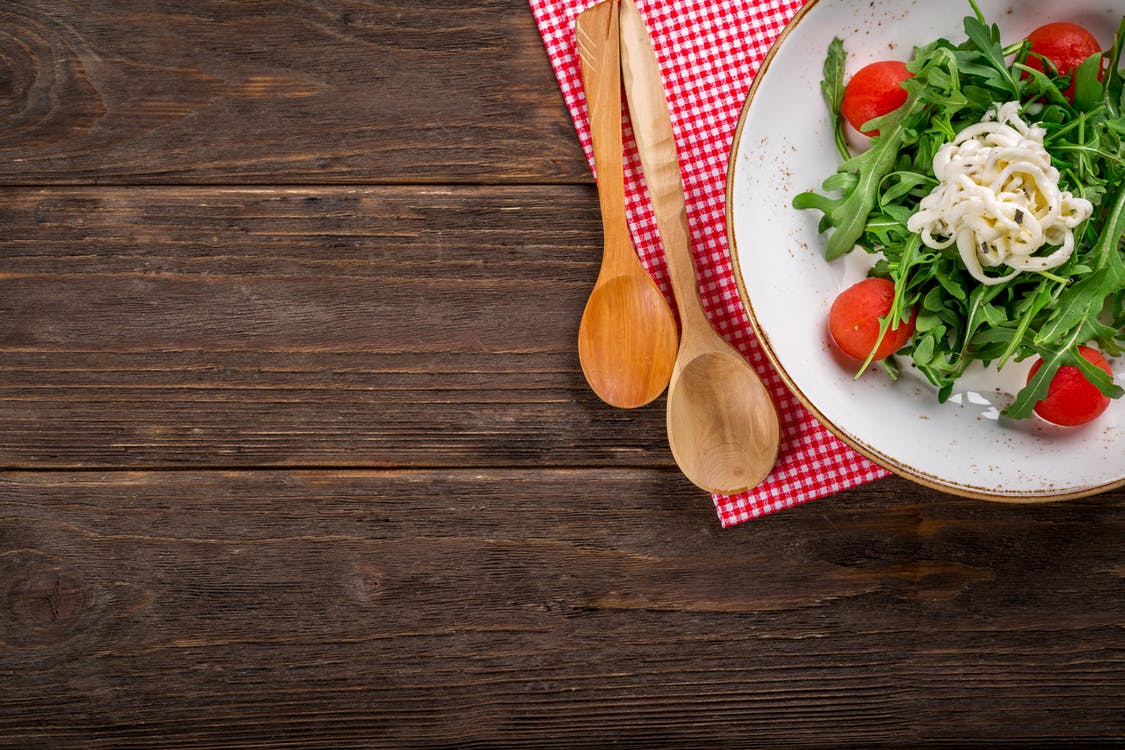
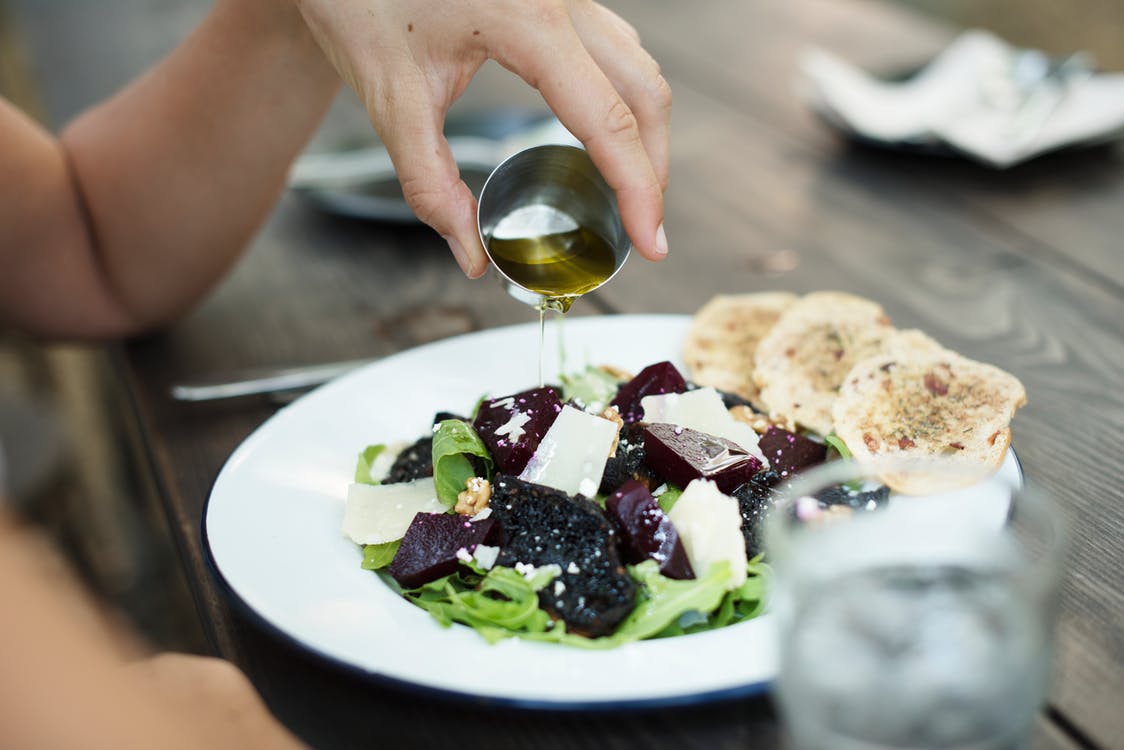

Before we start, please save each of these images to your computer. To do this, right-click at each image and choose "Save image as..."
Now, when we have all images prepared, we can proceed to create content.
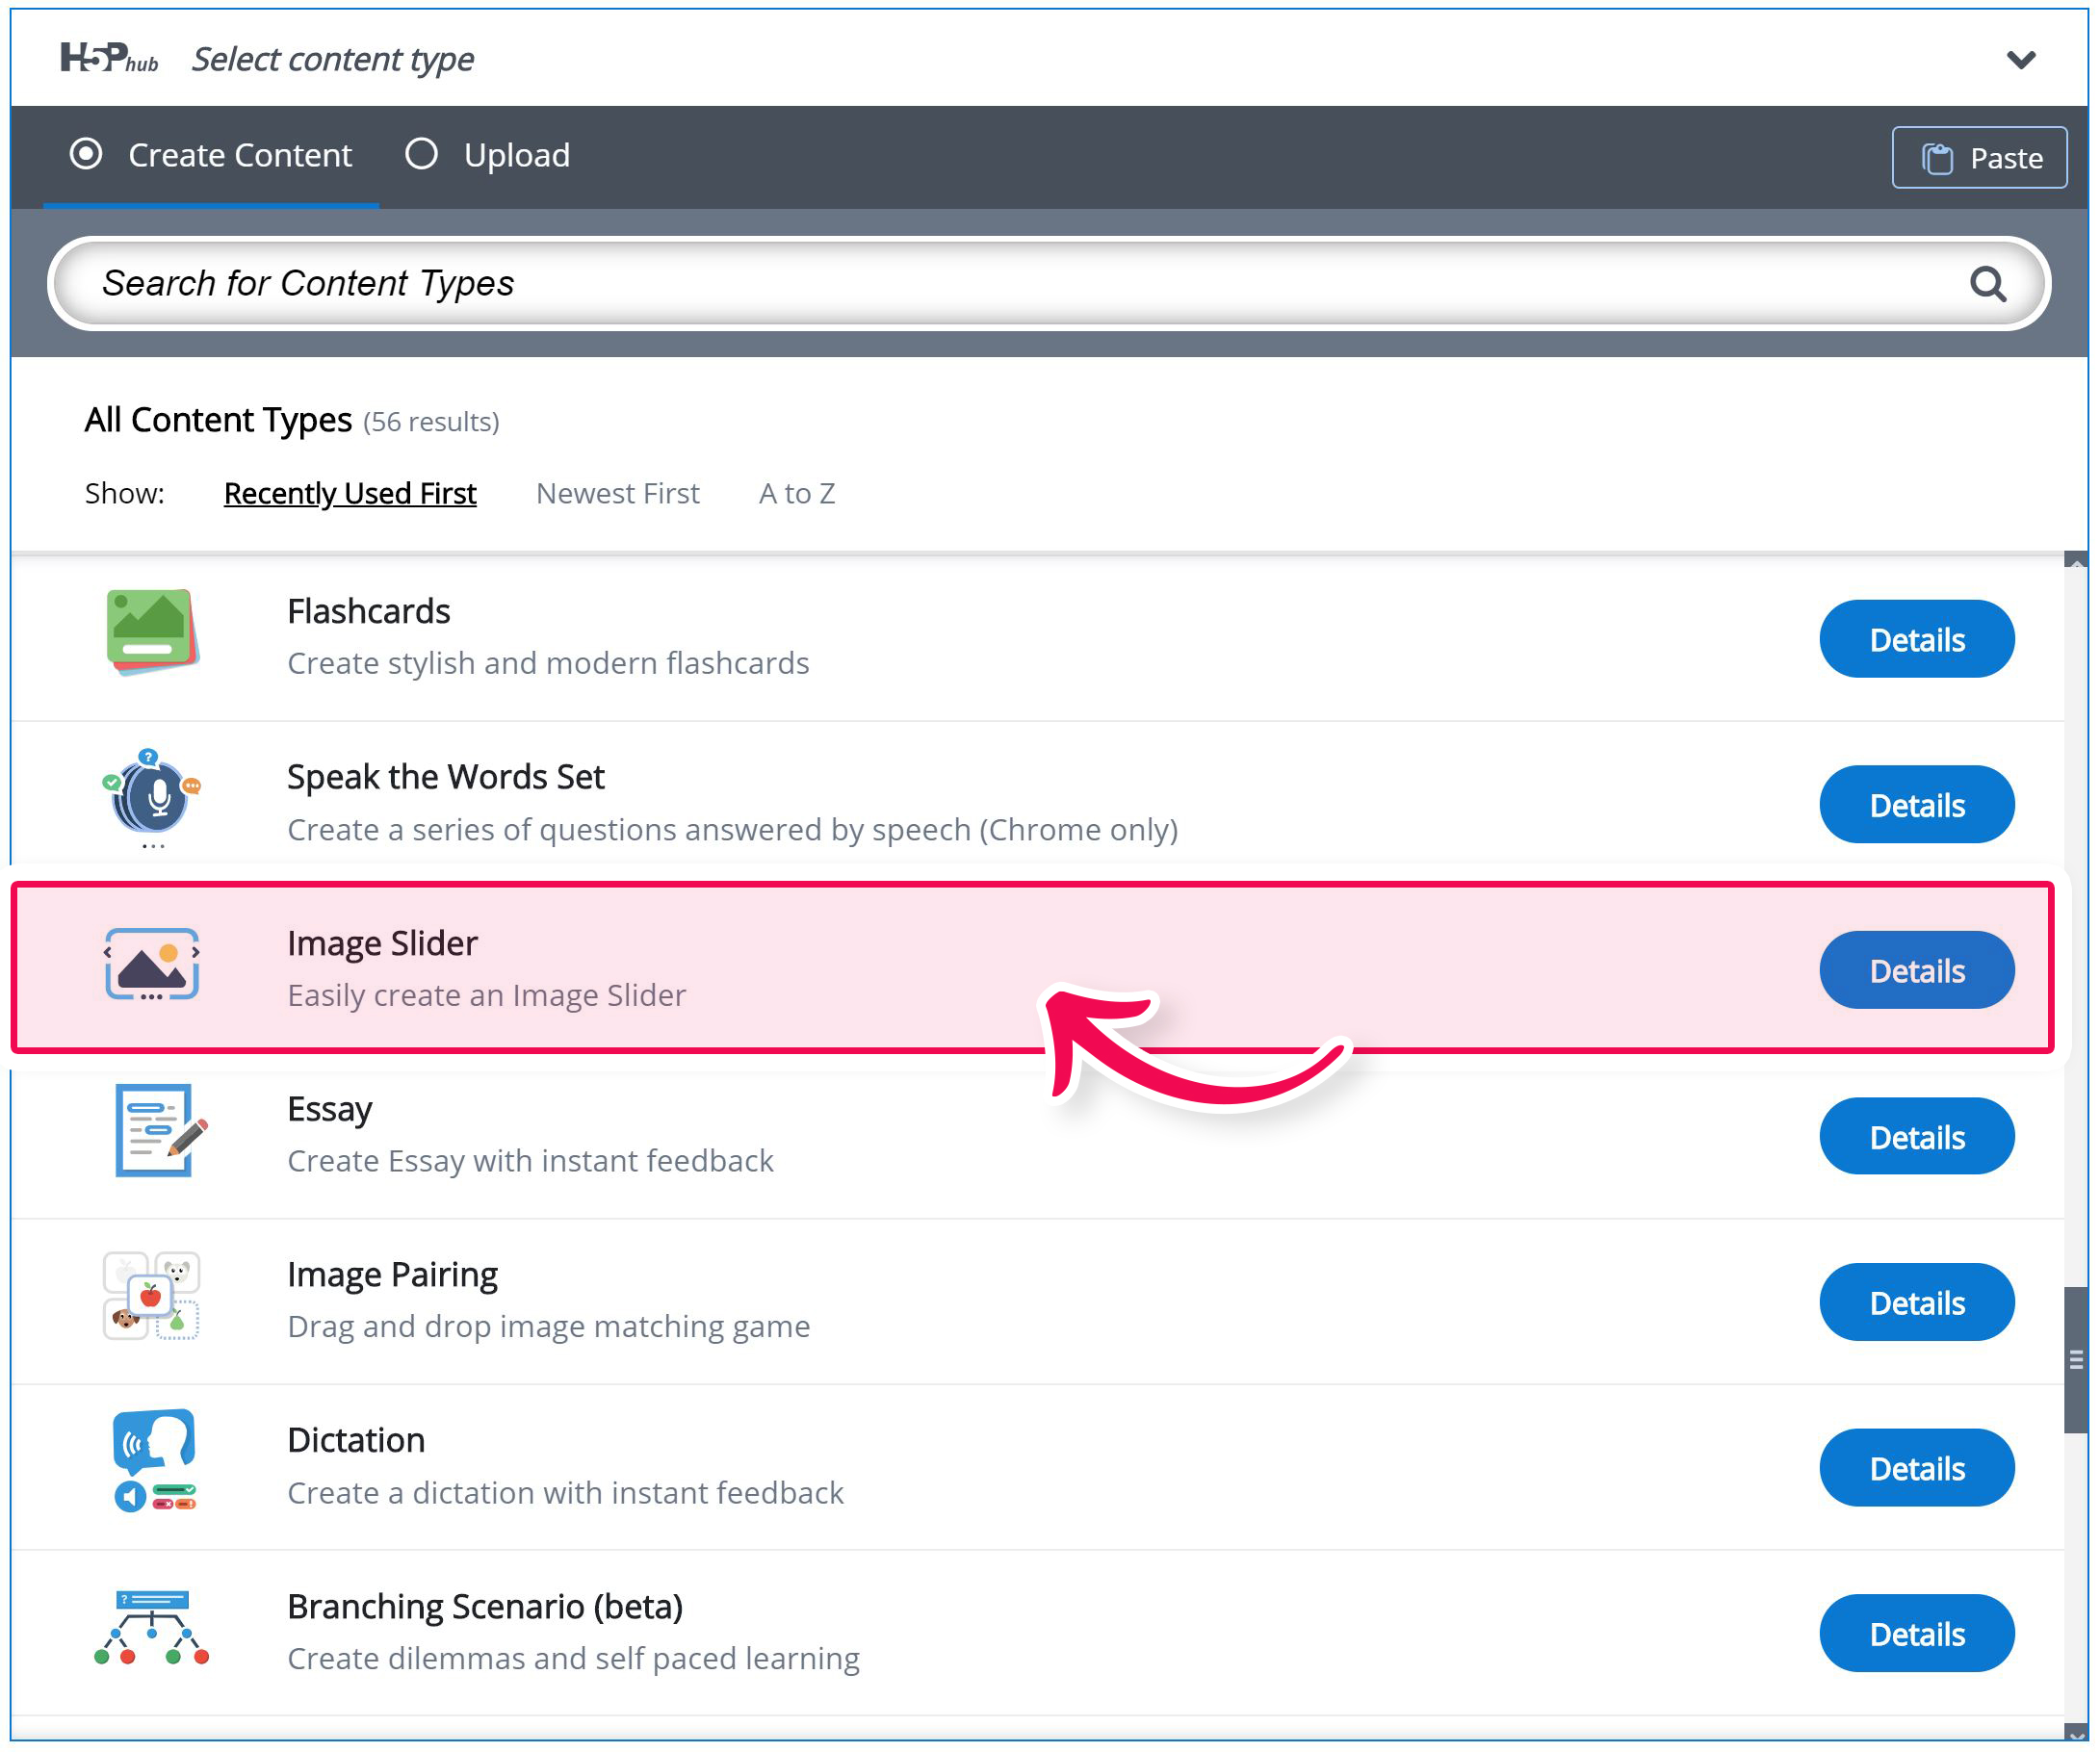
Step 2: Creating an Image Slider
Select the New content option and choose Image Slider from the list of Content types:
Step 3: Image Slider editor
The Image Slider editor should now appear. The editor should look something like this:
In this tutorial, we'll focus on creating the Image Slider content using the above example.
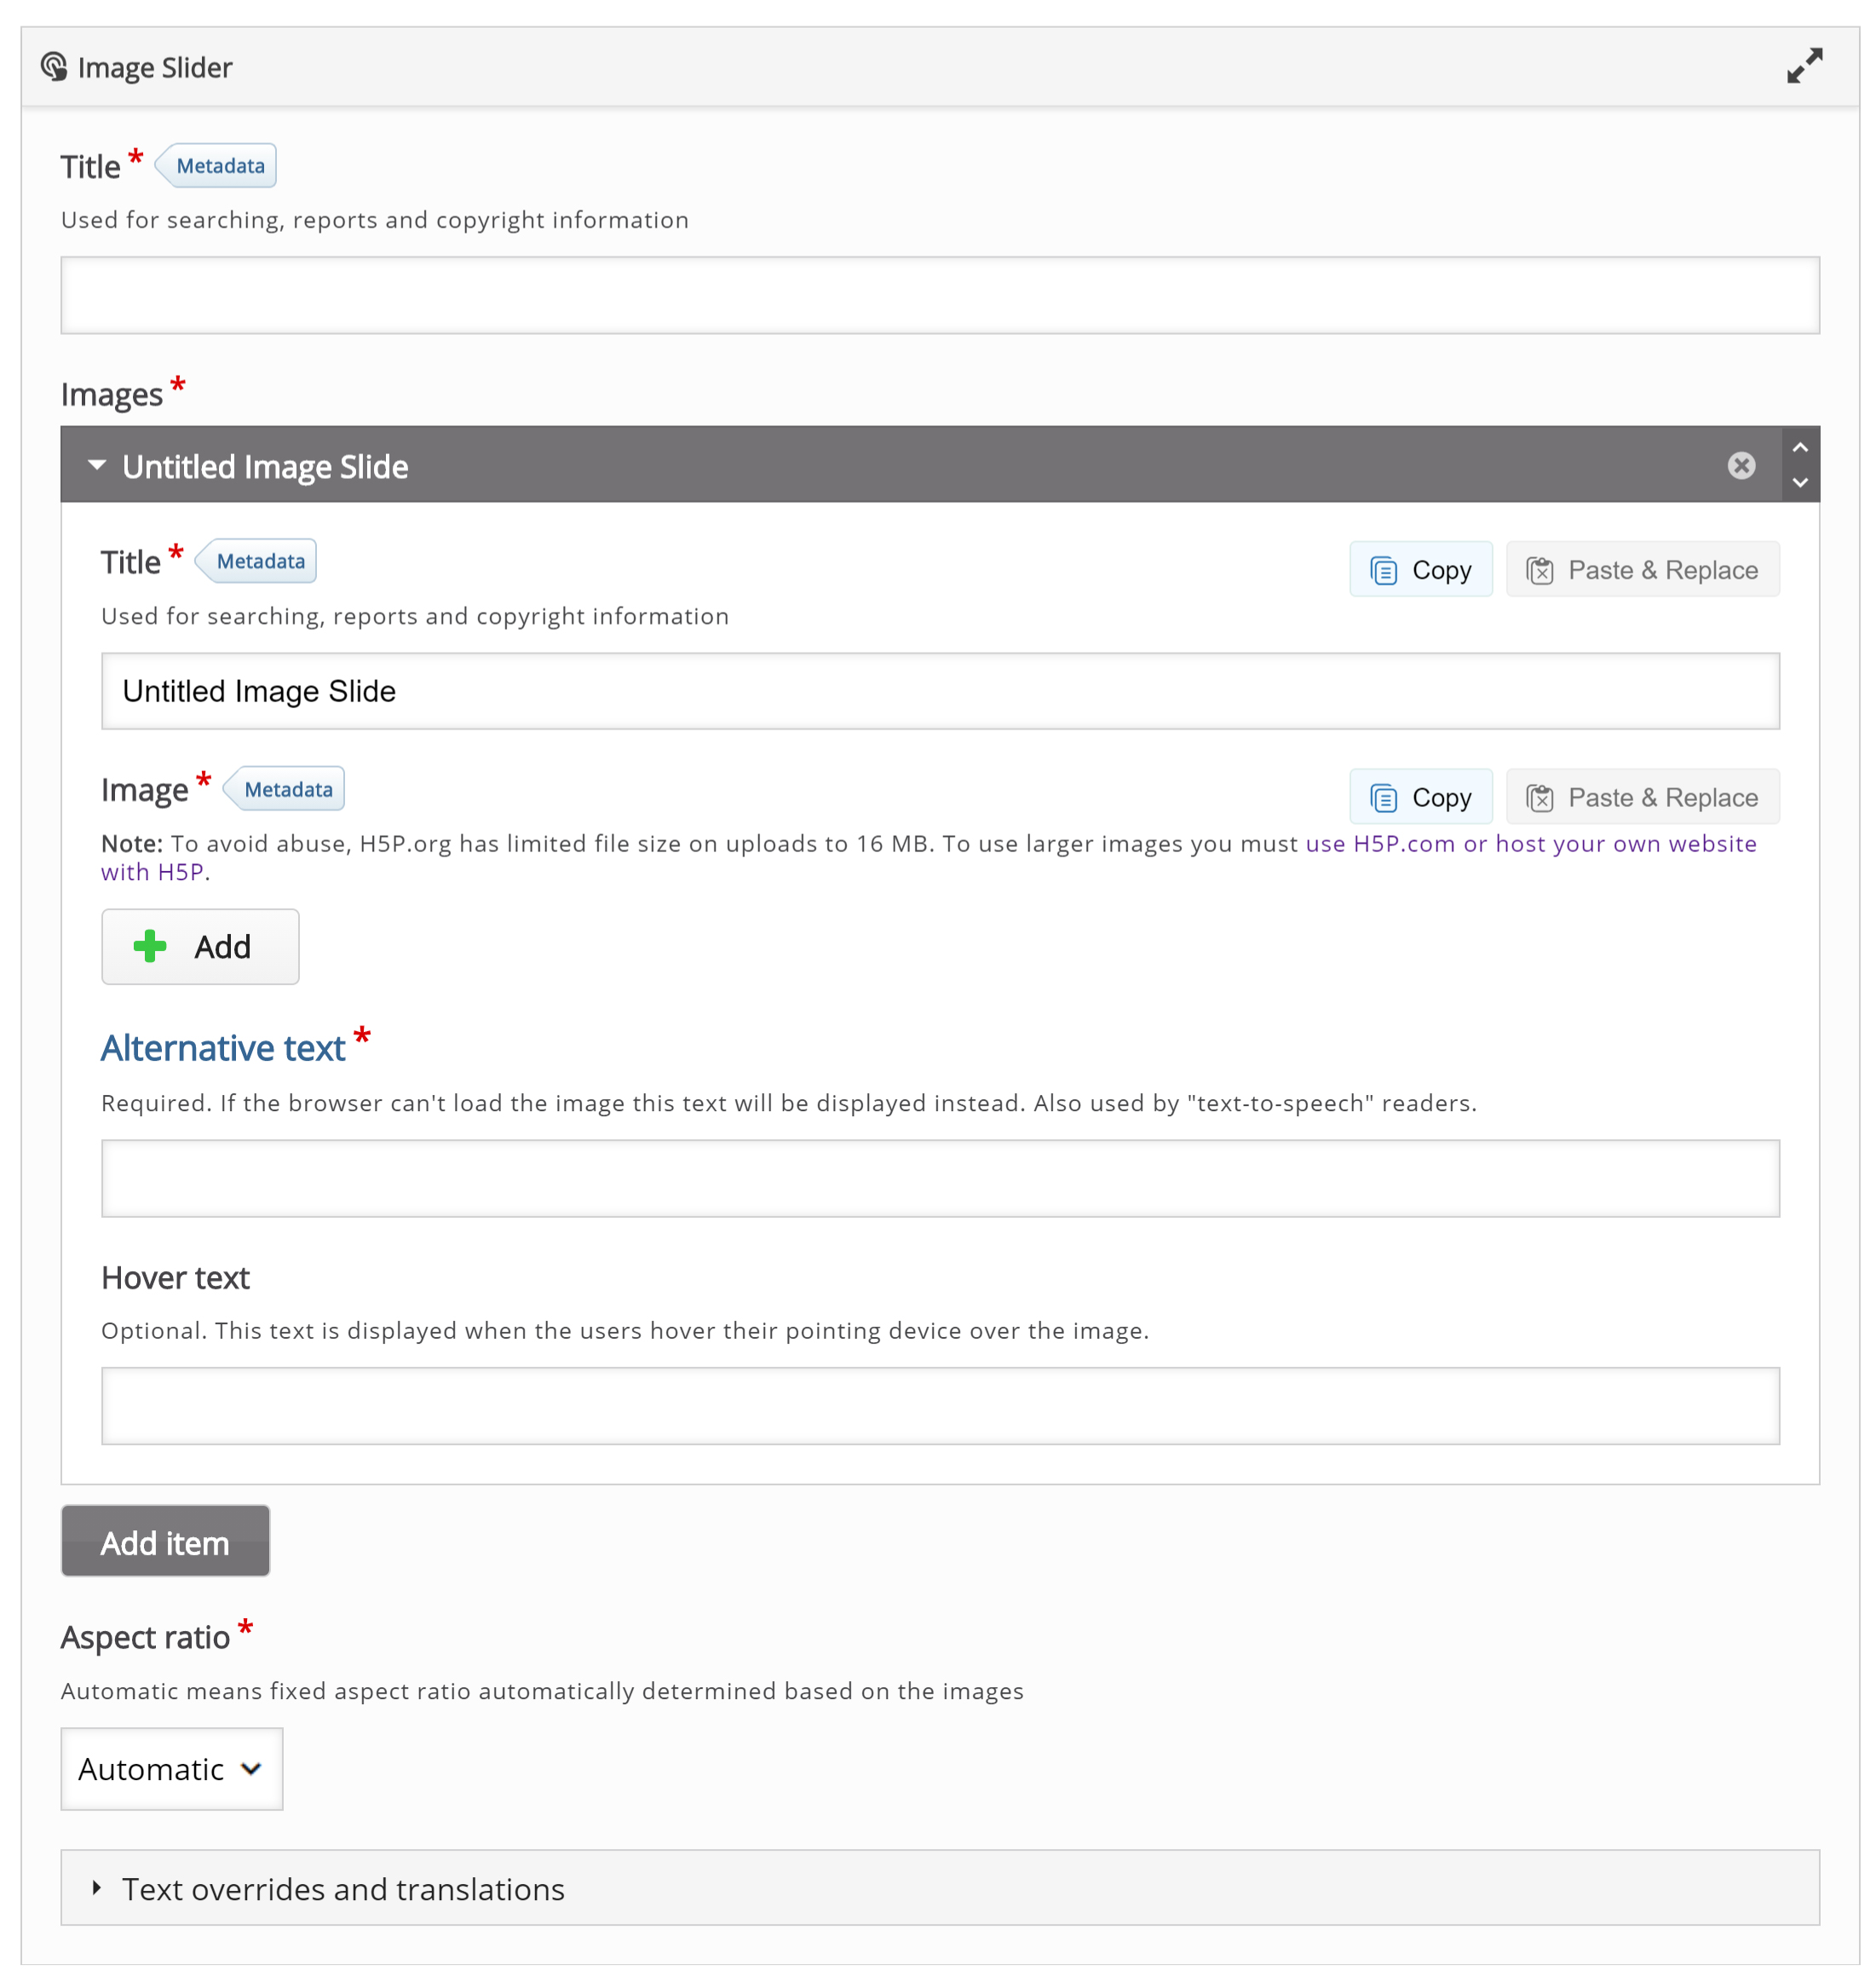
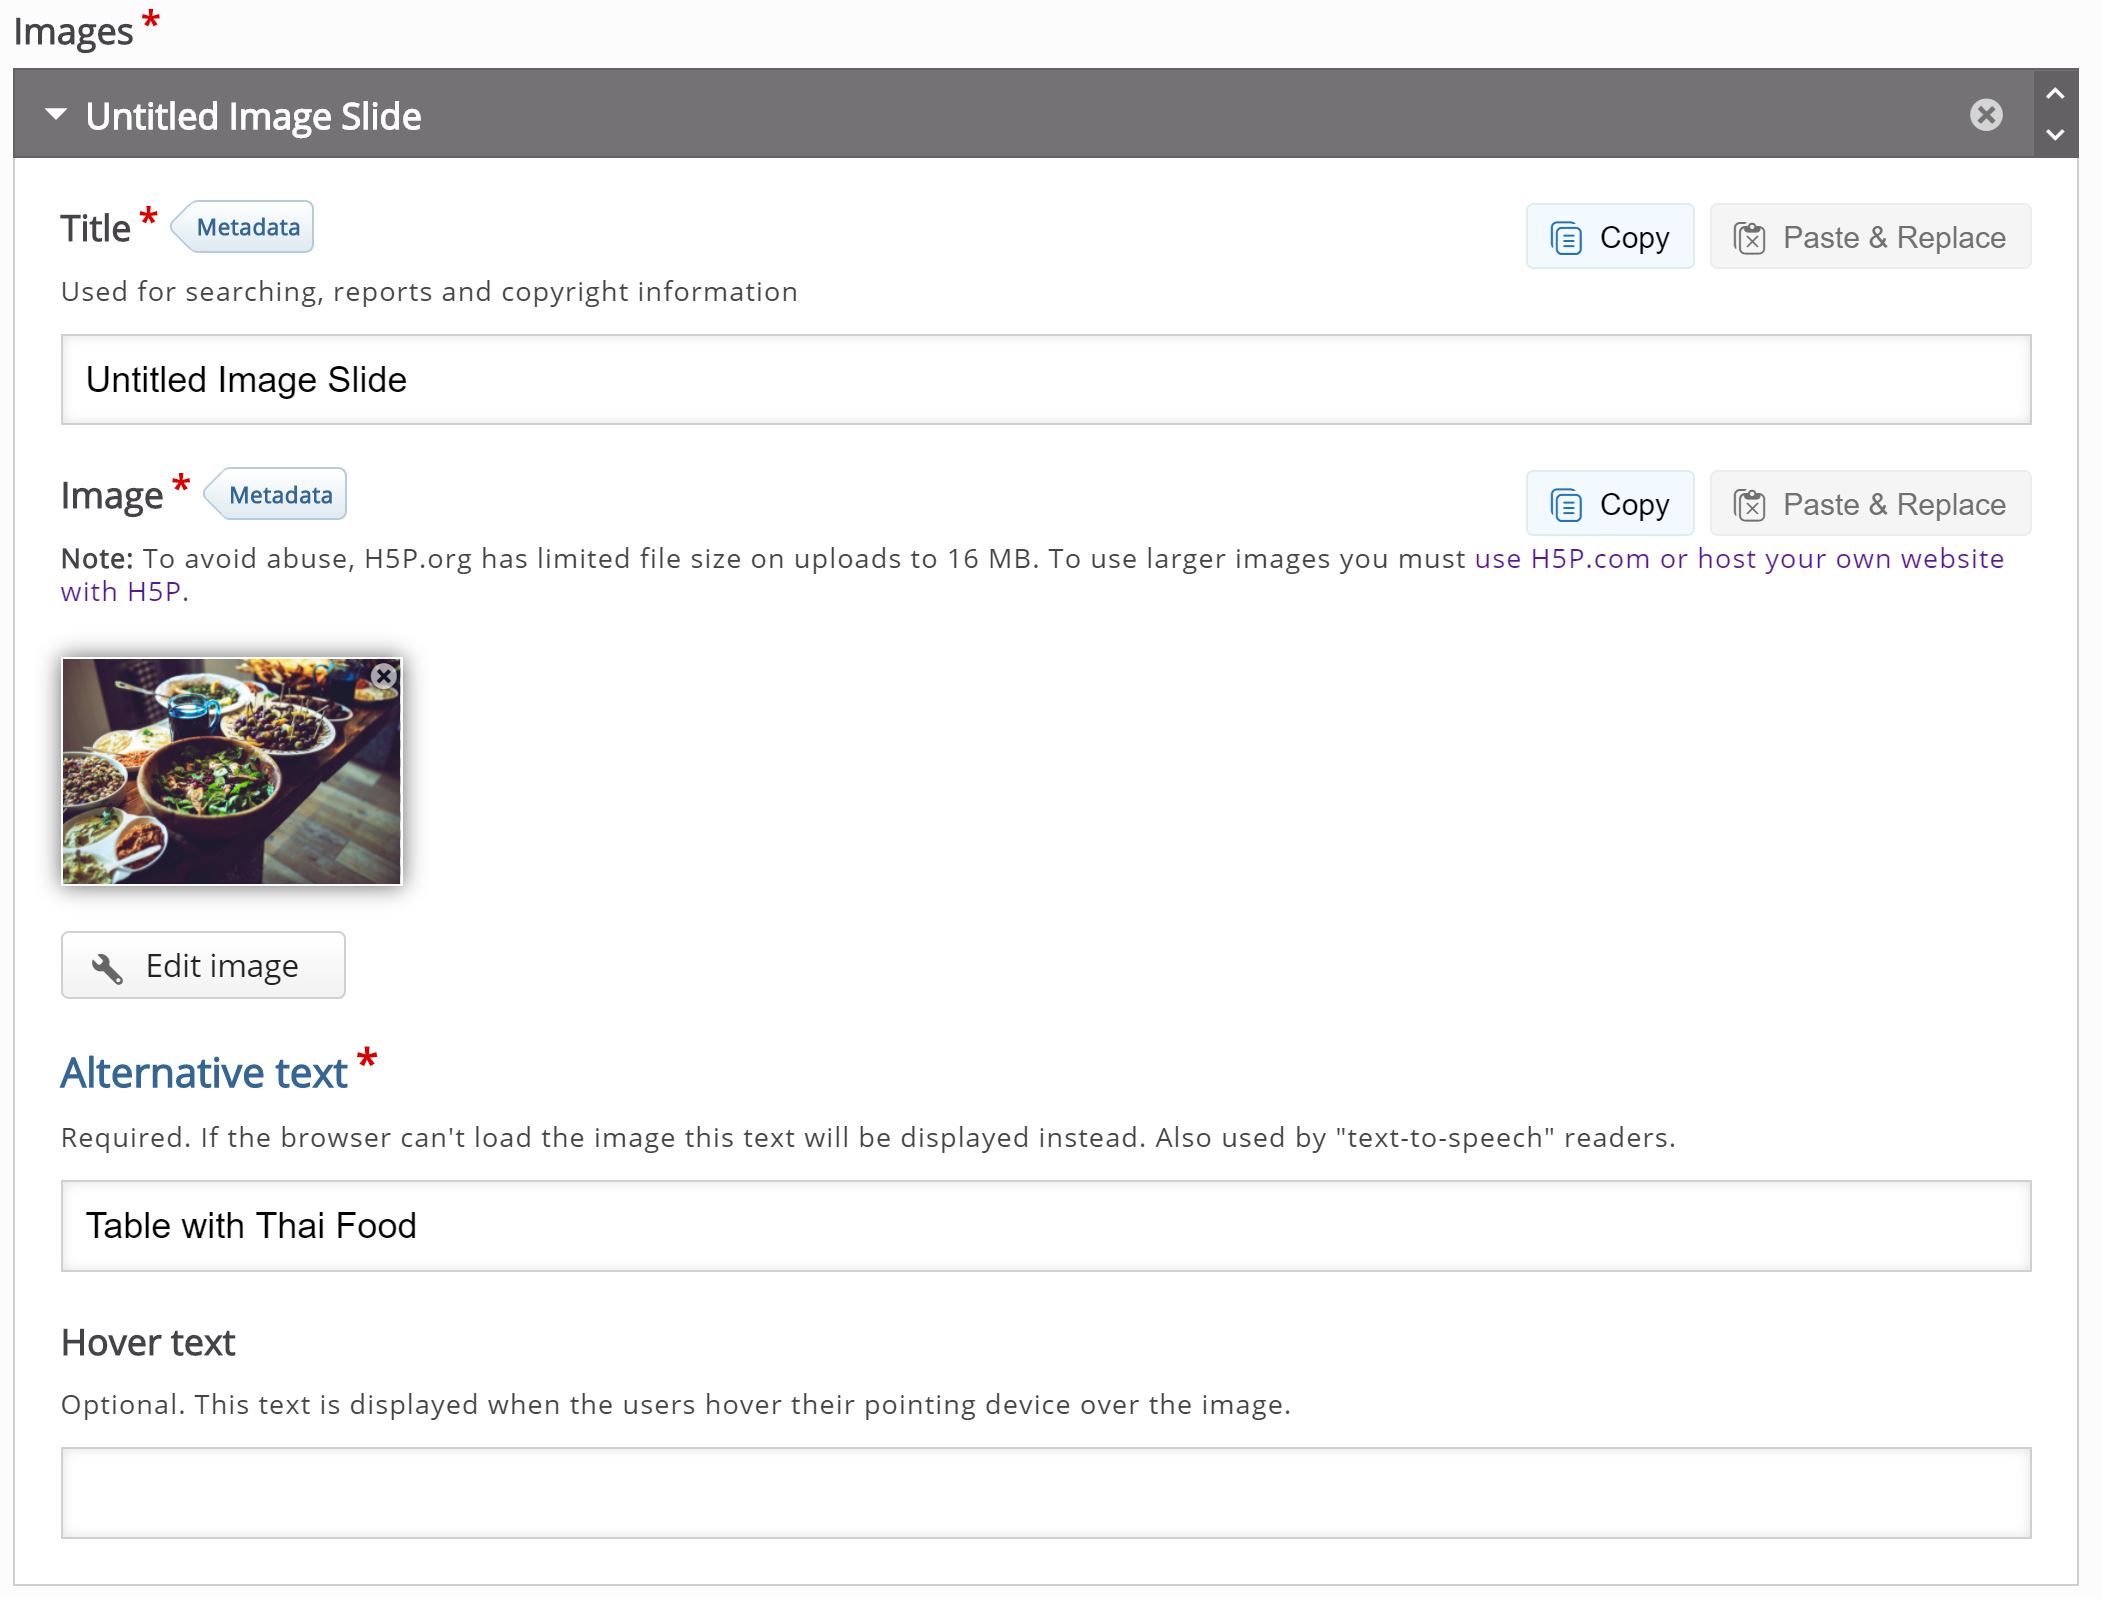
Step 4: Creating content
In the section "Images" click "Add image" and upload your first image. For "Alternative text" write down the description of the image, for example, "Table with Thai Food." You should get something like this:
To add the next image, click "Add item" button. Repeat the same process for the rest. In the end, you should have 4 groups in "Images" section.
Step 5: Finishing up
Save the node/article to view your finished Image Slider.
You should now have the same result as the example at the top of the page.
Feel free to leave any comments or suggestions on how to improve this tutorial.