Course Presentation Tutorial
The Course presentation content type allows you to create a slide-based presentation of your learning material. Elements such as slide titles, links, pictures, audio and video clips, as well as various quiz types can be embedded seamlessly right into the presentation for a richer learning experience.
In this tutorial you will learn:
- When to use Course presentations
- How to create a Course presentation
Click the "Get started" button to explore all of the possible ways to use H5P!
Video tutorial
The following video shows what Course Presentations may be used for and how to make one:
Textual tutorial - example
Here's the Course presentation we'll create in this tutorial:
When to use Course presentations
Course presentation enables you to author and deliver your course material directly in your browser. Course presentations contain slides where you can add various multimedia- and interactive elements to engage the learner.
Course presentations are used when you want to package a piece of learning content in a structured and interactive format. Learners swipe through slides to experience the learning material while solving various quizzes or watching videos along the way.
Try Course presentations as an alternative to presenting your learning content as Powerpoint presentations, PDFs or text-based web pages. Course presentations are very flexible to use, as they are simple to create, publish and edit.
Step 1: Topic
We'll use the Wikipedia article about Cloudberries as background material for our Course presentation. We'll use a couple of pictures from Wikimedia Commons as well.
Let's create three slides, with a test at the end:
- Slide 1: Cloudberries
- Slide 2: Where to find them?
- Slide 3: Uses
- Summary
Step 2: Creating a Course presentation
Select the New content option and choose Course presentation from the list of Content types:
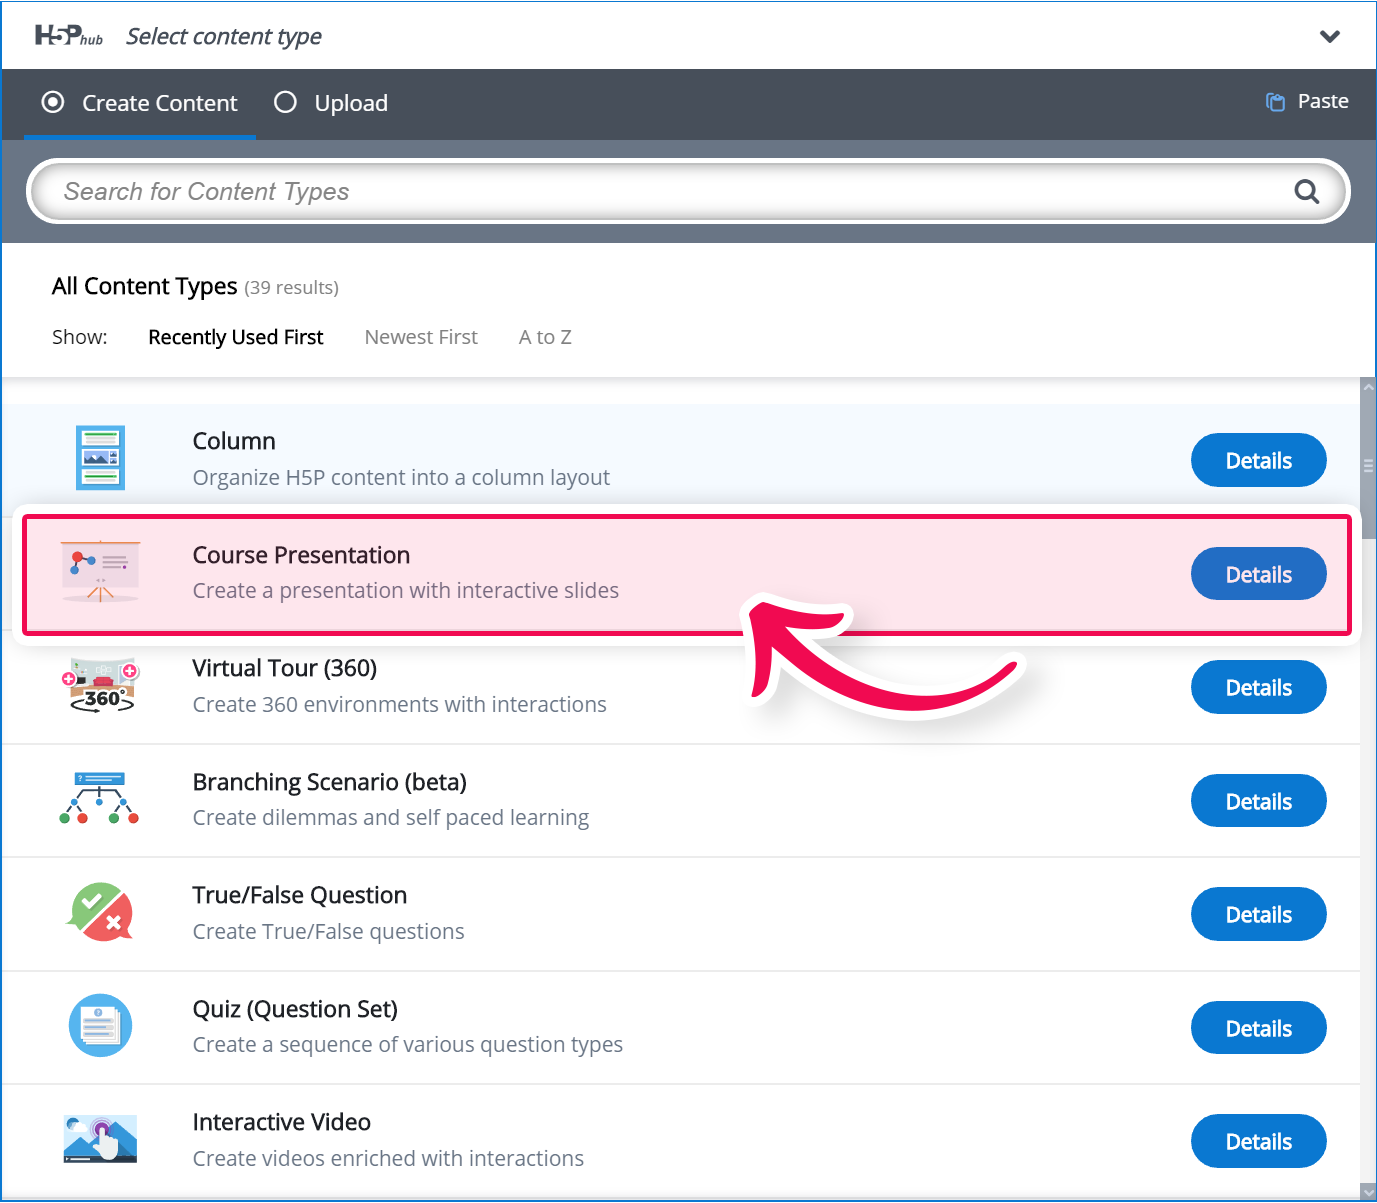
Step 3: Course presentation editor
The Course presentation editor should now appear. The top part of the editor looks like this:
In this tutorial, we'll focus on creating the Course presentation content. The content creation happens in the top part of the editor, so we'll only focus on this for now.
The Course presentation editor is WYSIWYG. The end-user view of the Course presentation will look very similar to the editor's view.
Step 4: Slide 1
We'll start by adding a slide in the slides panel to the left. The slide titles can be used to navigate between the slides.
You can remove the slides panel entirely by pressing the Remove slides button. However, this action cannot be undone.
Press the  button to open the "Slides" menu.
Press the pen next to "No title" ![]() to add a slide title.
to add a slide title.
Use Cloudberries as the title. You should now have something like this:
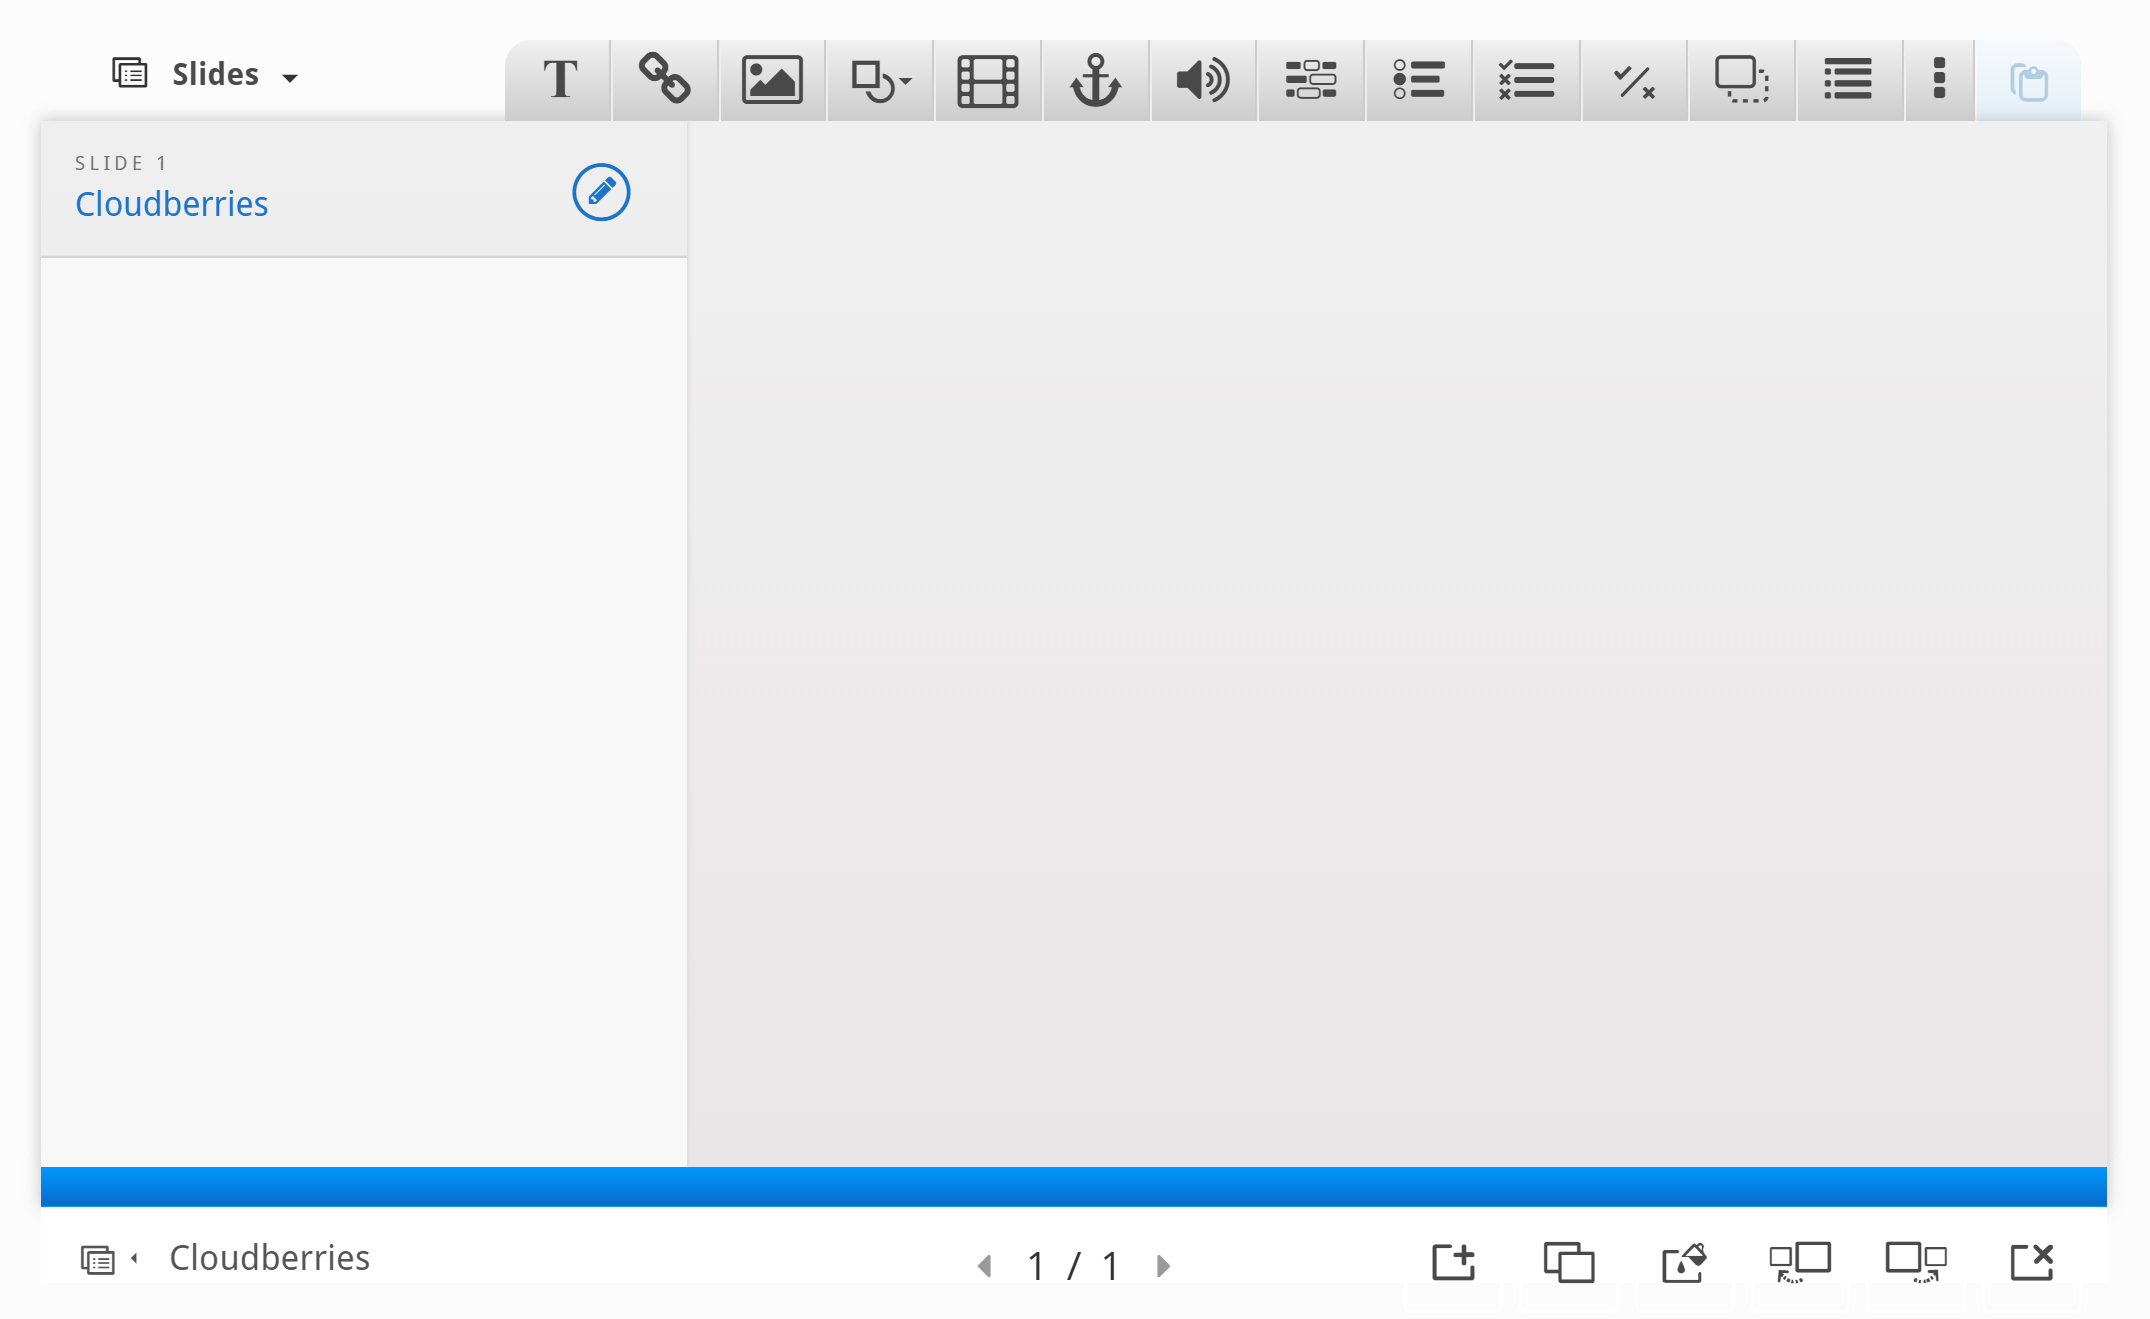
Now we can move on to adding some images.
We'll use these two images from Wikimedia:
Note the license information and URL and save the pictures to a local folder.
We add the pictures by using the ![]() button in the top toolbar. Press this button, drag it to where you want the image to be placed and drop it there. A dialog will automatically open:
button in the top toolbar. Press this button, drag it to where you want the image to be placed and drop it there. A dialog will automatically open:
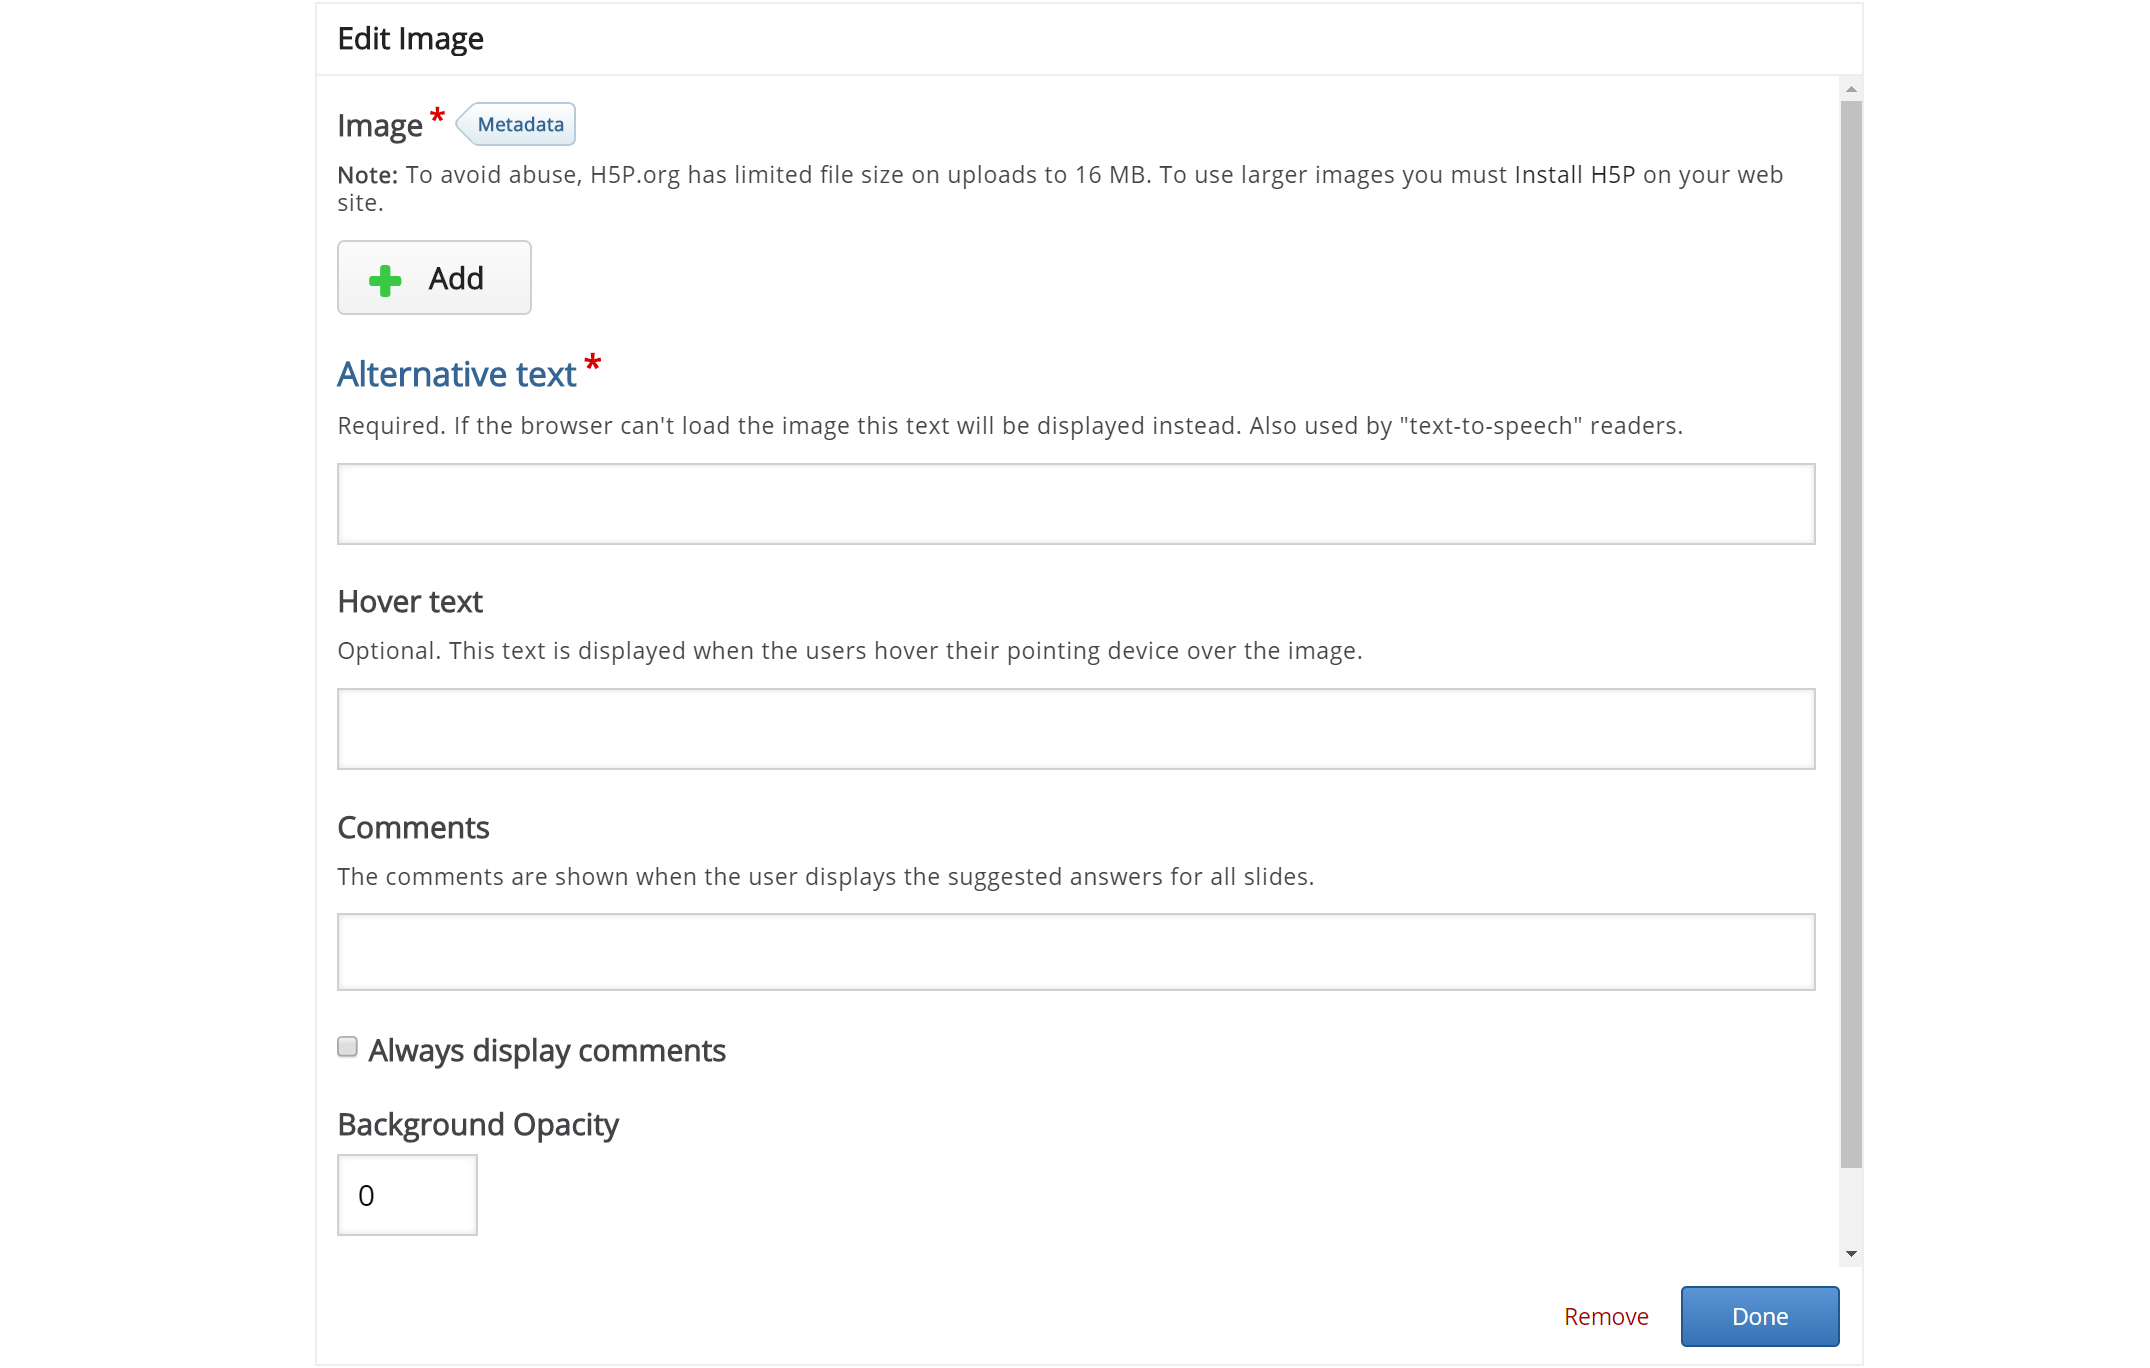
Press the  button, browse to where you saved the cloudberry flower picture and select it for upload.
We must also remember to add multimedia license information. Add the following information to the Metadata  dialog:

Finally, we have to add an Alternative text and a Hover text. The Alternative text is used to describe the image as an alternative to being displayed. The Hover text will show up on devices using a mouse when the cursor hovers over the image.
Alternative text: Picture of a Cloudberry flower
Hover text: Cloudberry flower
You should now have something like this:

Resize the picture by pulling in the lower right corner of the image. Make the image slightly smaller in size. You can move the picture by using drag and drop. Place it in the top left corner, so you get something like this:
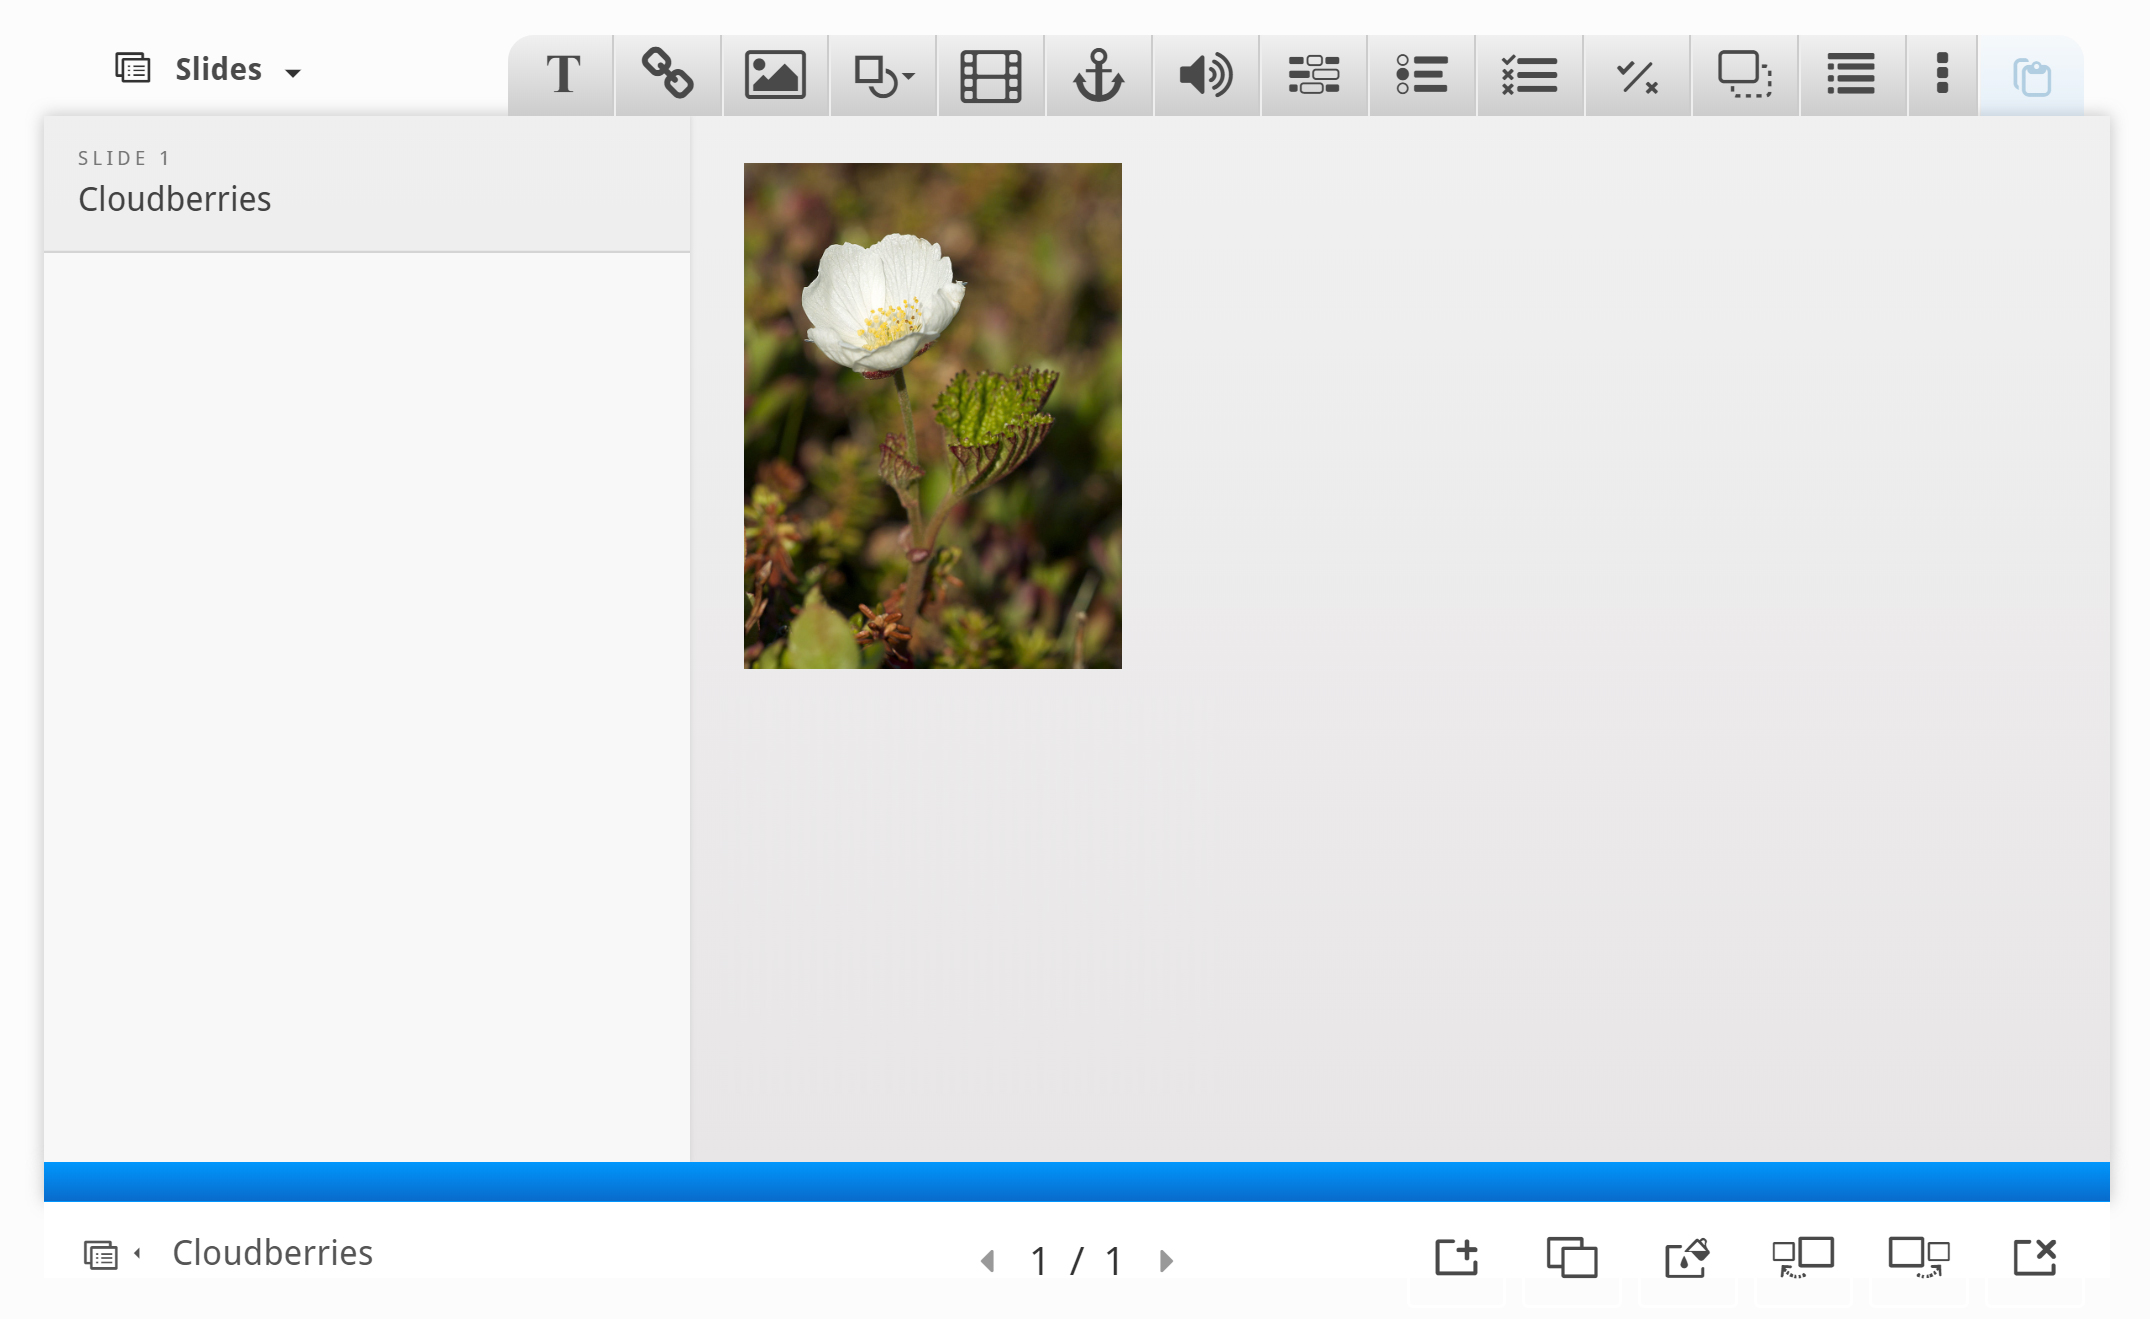
Now, add a second picture. This time, we'll use the cloudberry picture and place it beneath the cloudberry flower picture. Use the same procedure as above.
You should now have something like this:

To finish slide 1, we'll add the following text, which is paraphrased from the Wikipedia article:
- The Rubus chamaemorus is a herb producing amber-colored edible fruit similar to the raspberry or blackberry.
- The cloudberry grows to 10–25 cm high.
- The leaves alternate between having 5 and 7 soft, handlike lobes on straight, branchless stalks.
- After pollination, the white flowers form raspberry-sized berries.
- Each fruit is initially pale red, ripening into an amber color in early autumn.
Use the Text tool ![]() to add a block of text to the slide. Once you have dropped the text box, a dialog will appear. Insert the text above in the Edit text dialog:
to add a block of text to the slide. Once you have dropped the text box, a dialog will appear. Insert the text above in the Edit text dialog:
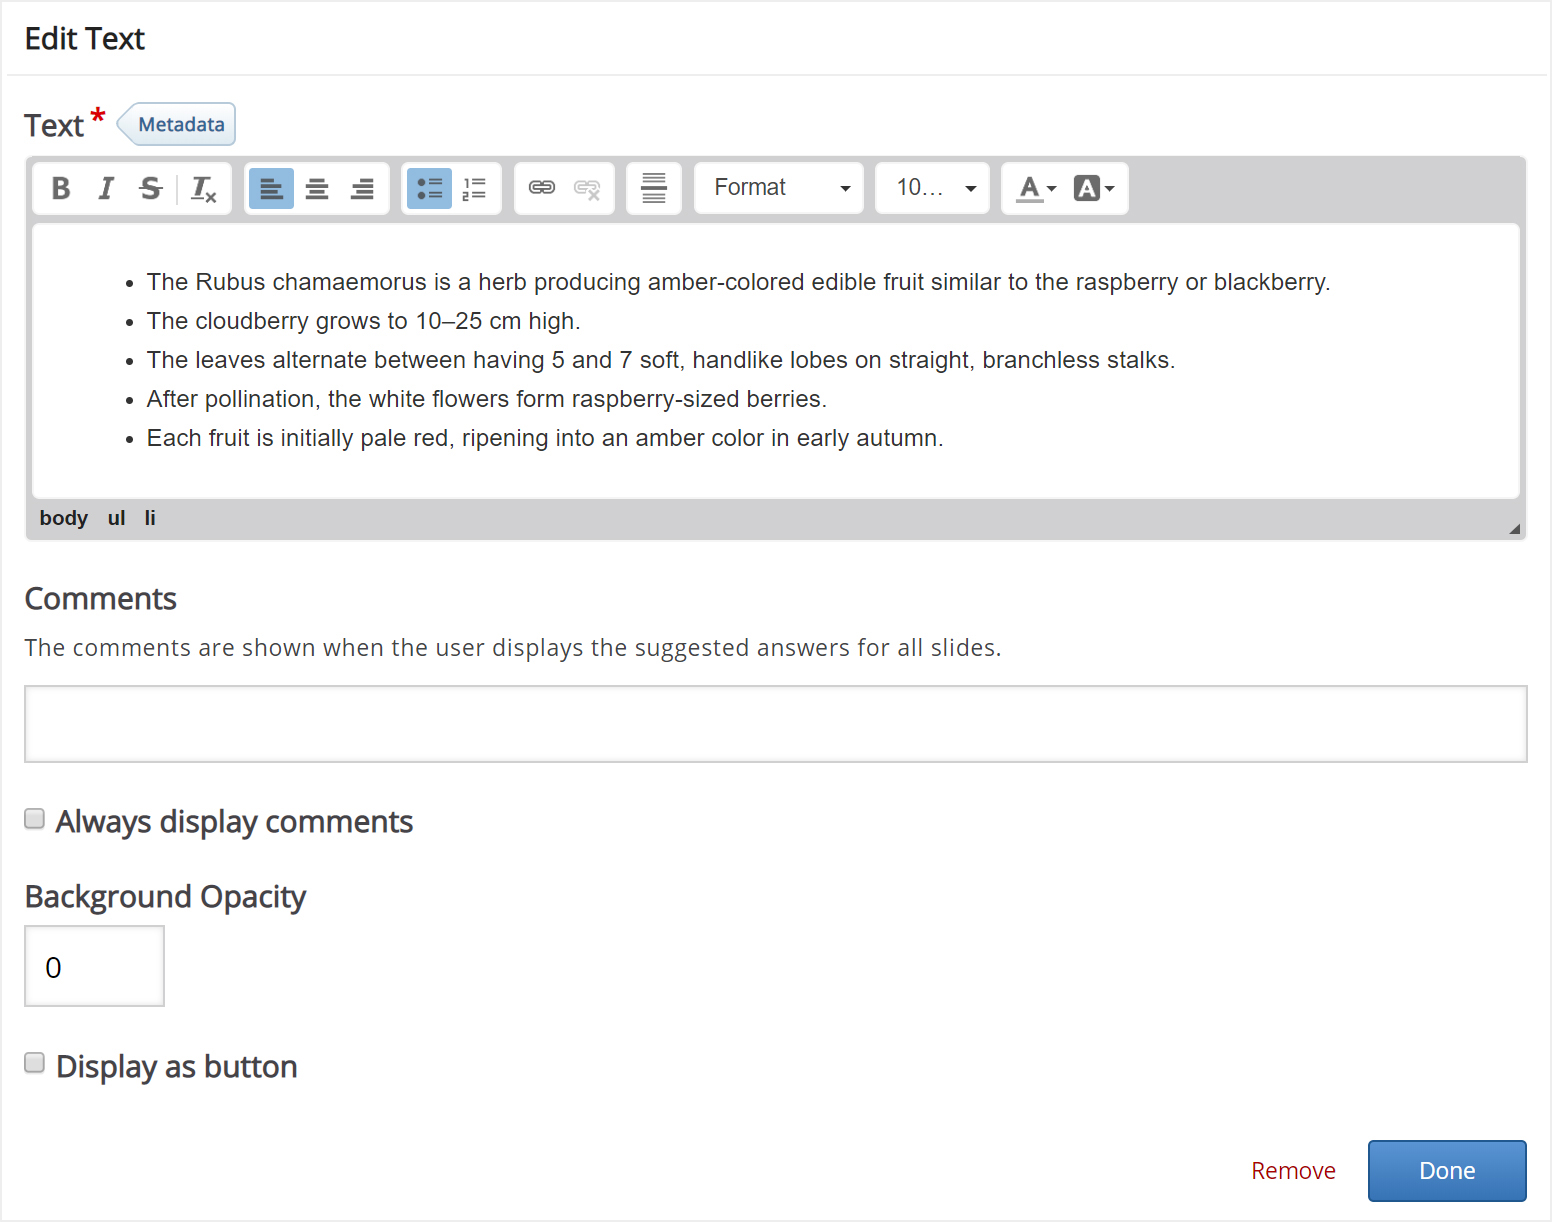
Leave the other fields blank and press Done.
You can place and resize the text block in the same way as images.
Now, position and size the text block so that you end up with something like this:

We have now finished slide 1.
Step 5: Slide 2
Press the  button in the lower right corner of the editor to add another slide.
Slide 2 will contain information about where Cloudberries can be found. Add the slide title Where to find them? in the slides panel.
We'll use the map picture from Wikipedia to show where Cloudberries grow in the wild. We add the picture by using the ![]() button in the top toolbar. Drag the picture onto the slide, upload the picture and add license information. Press Done, then resize the picture so you have something like this:
button in the top toolbar. Drag the picture onto the slide, upload the picture and add license information. Press Done, then resize the picture so you have something like this:

To finish slide 2, we'll add the following text, which is also paraphrased from the Wikipedia article:
Cloudberries are found in mountainous areas on the Northern Hemisphere
- Europe: In the Nordic countries and the Baltic states
- Asia: Across northern Russia east towards the Pacific Ocean
- North America: across most of northern Canada, Alaska, northern Minnesota, New Hampshire and Maine
As on slide 1, use the Text tool ![]() to add a text box to the slide. Once you have dropped the text box, a dialog will appear. Insert the text above in the Edit text dialog:
to add a text box to the slide. Once you have dropped the text box, a dialog will appear. Insert the text above in the Edit text dialog:

You can navigate between slides by pressing the slide titles in the slides panel or by using the navigation bar.
Step 6: Slide 3
Press the  button to add the third slide. Slide 3 will describe various uses of the cloudberry. Add the slide title Uses in the slides panel.
Again, we'll use text and images to deliver our message. In addition, we'll add a link to a website where the learner can find recipes using cloudberries.
Here are the links to the Wikimedia Commons pictures we'll use:
We add the pictures by using the ![]() button in the top toolbar. As on slide 1, we'll place the pictures in a column on the left side of the slide. Insert the three pictures, add the appropriate license information, place and resize them so you have something like this:
button in the top toolbar. As on slide 1, we'll place the pictures in a column on the left side of the slide. Insert the three pictures, add the appropriate license information, place and resize them so you have something like this:

The text we'll use, is again paraphrased from the Wikipedia article:
- In Finland, the berries are eaten with heated, local cheese
- In Sweden, cloudberry jam is used as a topping for ice cream, pancakes, and waffles
- In Norway, they are often mixed with whipped cream and sugar
- In Atlantic Canada, cloudberries are used to make "Bakeapple Pie".
- In Alaska and Northern Canada, the berries are mixed with seal oil, reindeer or caribou fat, and sugar to make "Eskimo Ice Cream" or "Akutaq".
Use the Text tool ![]() to add a block of text to the slide. Once you have dropped the text box, a dialog will appear. Insert the text above in the Edit text dialog. Press Done when you're finished. You should now have something like this:
to add a block of text to the slide. Once you have dropped the text box, a dialog will appear. Insert the text above in the Edit text dialog. Press Done when you're finished. You should now have something like this:

Finally, we'll add a link. Use the ![]() button on the toolbar and place the link onto the slide.
button on the toolbar and place the link onto the slide.
We can find a selection of Cloudberry desserts on yummly.com. Here's the URL: http://www.yummly.com/recipes/cloudberry-dessert
Use the link text Cloudberry dessert recipes.
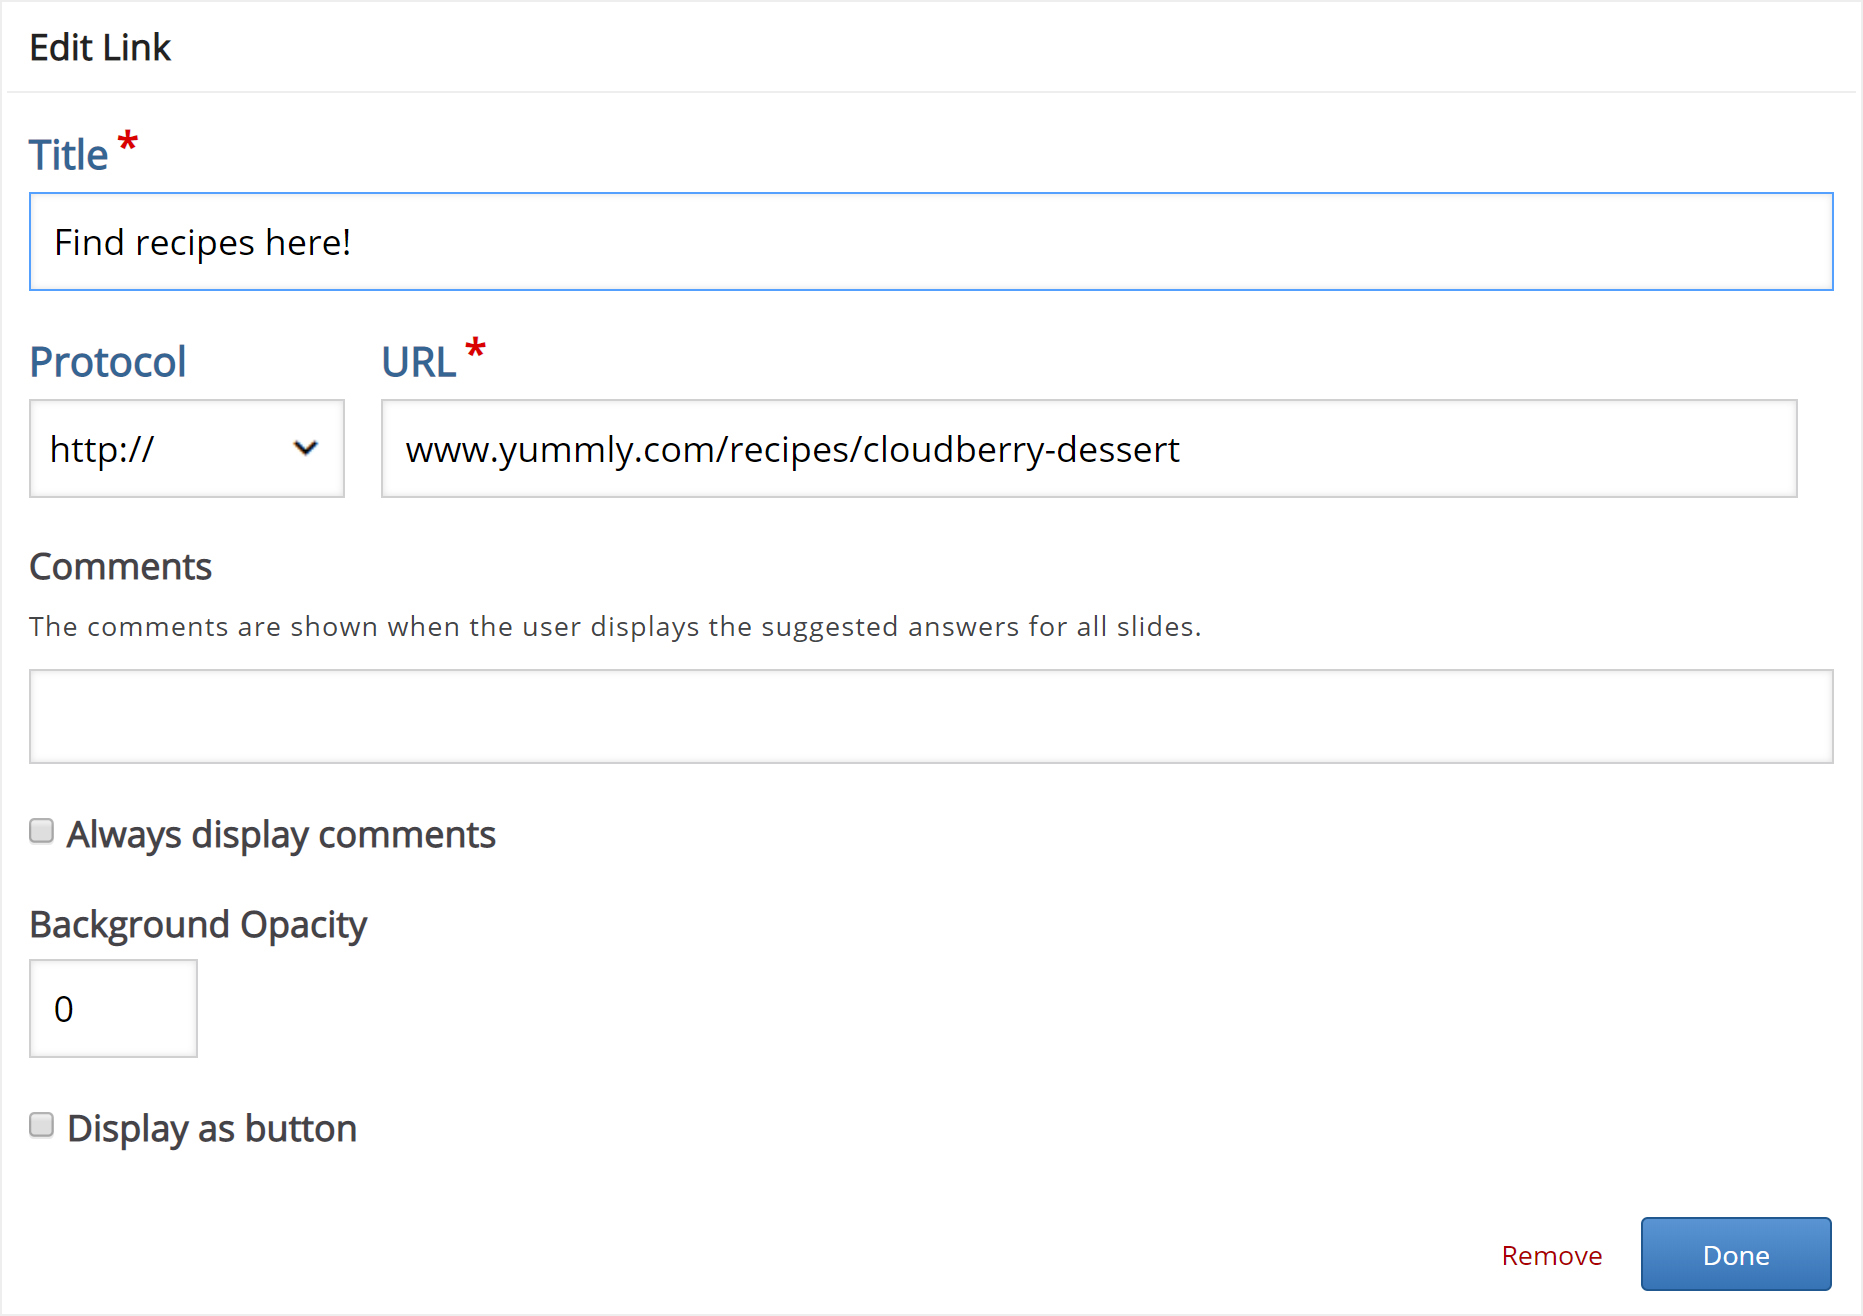
Press Done. then resize and place the link box so you have something like this:
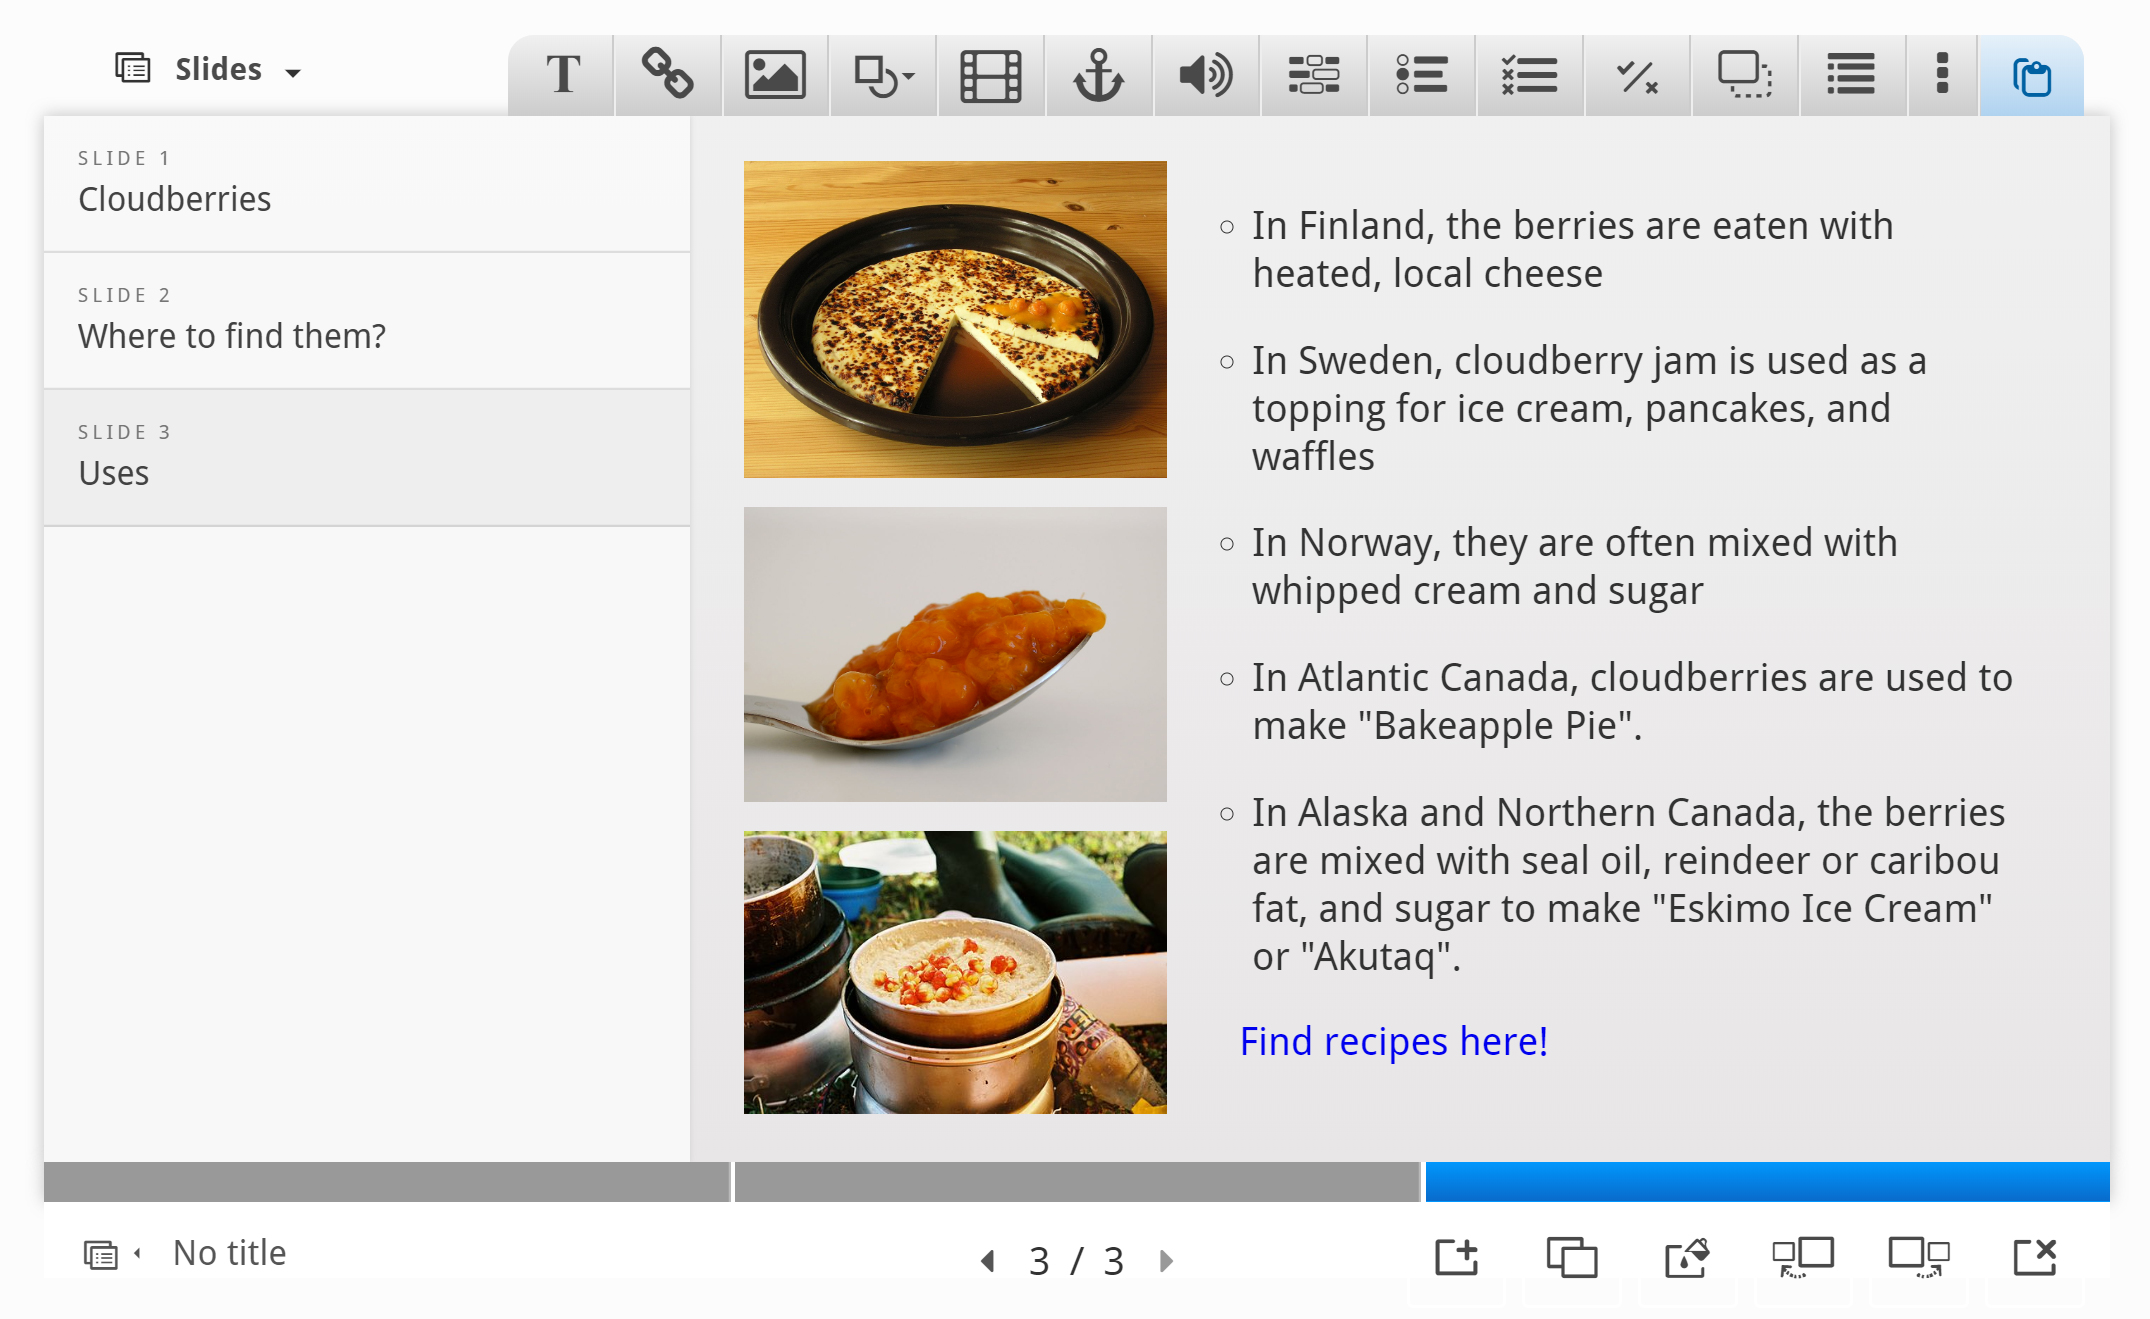
We're now finished with slide 3. Finally, we'll add a Summary to finish the Course presentation.
Step 7: Slide 4
Press the  button to add a fourth and final slide. Add the slide title Summary in the slides panel.
The Summary will allow the learner to make an interactive summary of the most important aspects of the previous three slides.
On the toolbar, press the ![]() button and drag a summary onto the slide. Creating a Summary is covered in this tutorial.
button and drag a summary onto the slide. Creating a Summary is covered in this tutorial.
Once you have dropped the Summary, the editor will appear.
Now we'll add statements to the Summary. Press the Add statements button to add two more statement groups.
In the Summary editor, the top statement in a statement group is always the correct one.
Introduction text:
Choose the correct statement about Cloudberries.
Statement group 1:
- Cloudberries are similar in shape and size to raspberries and blackberries.
- Cloudberries are similar in shape and size to blueberries and redcurrants.
- Cloudberries are similar in shape and size to strawberries.
Statement group 2:
- Cloudberries are found in the Northern Hemisphere.
- Cloudberries are found in the Southern Hemisphere.
Statement group 3:
- In Atlantic Canada, cloudberries are often used to make "Bakeapple pie".
- In Atlantic Canada, cloudberries are mainly eaten with a heated local cheese.
- In Atlantic Canada, cloudberries are mainly eaten with a heated local cheese.
Press Done when you have added the statements. Then position and resize the Summary so you'll have something like this:

Step 8: Finishing up
At the bottom of the editor, you'll find the Enable show solution buttons option. In this context, the option does not have any effect.
Save the node/article to view your finished Course presentation.
You should now have the same result as the example on top of the page.
Feel free to leave any comments or suggestions on how to improve this tutorial.

Comments
lire.et.ecrire
Tue, 10/16/2018 - 10:35
Permalink
Audio icon in single choice set within course presentation
Please how to associate audio on "audio icon" in single choice set within course presentation.
otacke
Tue, 10/16/2018 - 19:04
Permalink
Hi lire.et.ecrire!I am not
Hi lire.et.ecrire!
I am not sure if I understand your question correctly. What do you mean with "associate"?
Best,
Oliver
lire.et.ecrire
Wed, 10/17/2018 - 06:14
Permalink
I wanted to recorder the
I wanted to recorder the voice that can be directly link on "audio icon" in single choice set within course presentation.
otacke
Wed, 10/17/2018 - 09:19
Permalink
Hi again!That's not yet
Hi again!
That's not yet possible, unfortunately. We already have a plan ready to implement that feature, but it has low priority. You can check progress at https://h5ptechnology.atlassian.net/browse/HFP-1145.
Best,
Oliver
21cccs
Tue, 05/24/2016 - 20:09
Permalink
How do I remove the post-to-twitter option on the summary slide?
I've created an activity for students and I'm looking to remove the post-to-twitter option on the summary slide -- is that possible?
falcon
Wed, 05/25/2016 - 10:26
Permalink
Currently you have to do that
mamboe29
Wed, 07/26/2017 - 18:56
Permalink
How to remove "Twitter-feed" (coding or new feature?)
Dear Falcon, I was just reading this comment and I also would like to remove it from Course Presentation (using WP H5P Plugin). Is this already a feature and if yes, where can I find it? And if not, how to remove this using CSS code...? I'm afraid I am not much of a programmer so would not know where to start even.
fnoks
Thu, 07/27/2017 - 09:43
Permalink
Hi,The possibility to remove
Hi,
The possibility to remove the twitter feed is work in progress, and will hopefully be part of the next release of Corse Presentation. Please stay tuned :)
Best,Pålmamboe29
Thu, 07/27/2017 - 12:17
Permalink
Will stay tuned ;)
Thanks for letting me know (and so fast). As I am creating a pilot training, I don't want them to use this option so will very kindly request them to ignore the button for now... ;)
teamelearning
Tue, 06/21/2016 - 11:33
Permalink
adding a true false question
Is there any way to add a true / false question to the course presentation?
falcon
Thu, 06/23/2016 - 11:43
Permalink
Only by using multiple choice
Only by using multiple choice where you type in true as one alternative and false as the other... :/
teamelearning
Thu, 06/23/2016 - 12:00
Permalink
Thought so. Thanks for the
Thought so. Thanks for the quick reply
fnoks
Thu, 06/23/2016 - 12:49
Permalink
Re: adding a true false question
You could also use Single Choice Set, which offers functionality for creating questions with only one correct answer.
ScottJeffrey
Thu, 07/28/2016 - 16:07
Permalink
HTML code (blockquote)
I am a new user and so far really love it.
I am trying to change slides in a "Course presentation" to do a blockquote (or HTML code in general).
I guess I may have to harrass my instructional technology folks about a wordpress server.
icc
Thu, 07/28/2016 - 16:19
Permalink
Hi, I'm glad you enjoy using
Hi, I'm glad you enjoy using H5P!
Currently, the options for inserting objects into the text editor is quite limited. This is due to the fact that they're semantically only meant for text. Of course, you could add custom objects, but H5P cannot guarantee that this objects won't break when updates are made. We would prefer it if other components were added through separate buttons, this way we know what to expect and take into account when developing.
That said it's possible to enable any CKEditor options or plugin inside H5P on your own server, but your content might break or look funny when certain conditions aren't met.
ScottJeffrey
Sat, 07/30/2016 - 16:46
Permalink
Thanks...
I am working with my learning technology group on a WordPress site.
rcmantis
Thu, 08/18/2016 - 15:03
Permalink
Add shapes
I'm trying to make some text sit on a coloured background, over an image. I've tried looking to add a blank shape, edit the text box to be block and coloured or even access the HTML, but had no luck.
Is there any way to achieve this?
falcon
Fri, 08/19/2016 - 10:13
Permalink
I'm not sure if I'm getting
I'm not sure if I'm getting the question right, but could this be achieved by first adding the shape as an image and then adding the text above it? A dedicated shapes tool is definitively something I would like to see in the future.
vaishalimutreja
Thu, 09/08/2016 - 09:01
Permalink
Hotspot
I cannot add hotspot image to the course presentation?
thomasmars
Thu, 09/08/2016 - 10:08
Permalink
Hi,
That is correct, you can not add image hotspots to course presentation currently.
Жилина Юлия Олеговна
Tue, 10/18/2016 - 11:44
Permalink
Спасибо за интересную
Спасибо за интересную программу!!!
Steve Covello
Tue, 10/25/2016 - 15:45
Permalink
Editing space
I am using the H5P plugin in Moodle and testing the Course Presentation tool. The space that is allocated in Moodle on-screen for editing is very small. I don't see a full screen expansion button. Am I missing something? This kind of authoring needs more space than what is available.
fnoks
Wed, 10/26/2016 - 11:08
Permalink
Hi,I totally agree with you,
Hi,
I totally agree with you, making it possible to get the H5P editor in fullscreen would be really nice. It is part of the H5P roadmap to add that feature, but I won't dare to promise when that will released.
Жилина Юлия Олеговна
Tue, 10/25/2016 - 16:25
Permalink
https://h5p.org/user/112965
https://h5p.org/user/112965/mycontent
Я выполнила все задания курса. Жду результата.
olafelch
Thu, 10/27/2016 - 12:45
Permalink
Using images/media from other sources
Hi,
First off, I'm just getting started with this so my apologies if I've missed something obvious, but it only seems possible to upload images from my computer. Is there an option somewhere to add other repositories (like Google Drive) so that content can be created without having to download and upload? In Moodle I can access numerous online repositories directly, but there doesn't appear to be any way to link to these.
Thanks for any pointers you can offer!
tomaj
Fri, 10/28/2016 - 08:41
Permalink
No support yet
Hi,
There isn't any support for that yet. But it sounds like maybe there should be. I suggest you head over to the feature request forum, and make a proposal.
- Tom
lmartpra
Wed, 11/16/2016 - 09:42
Permalink
TECNOLOGIA SOCIAL
PRUEBA
eddiewrong
Sun, 01/08/2017 - 23:14
Permalink
Non-linear slide advancement
Is there a function where the learner can skip to specific slide number depending on his answer for a quiz?
For example, if the CORRECT answer is selected, it goes to a specific slide, otherwise (WRONG) it goes to another slide.
Thanks!
tomaj
Mon, 01/09/2017 - 08:52
Permalink
Unfortunately no
Hi Eddie,
Unfortionatly there is no support for what you are asking in Course Presentation. Only Interactive Video has this feature, as far as I know.
- Tom
denislh
Sat, 01/21/2017 - 12:08
Permalink
Move Course Developed in Course Presentation
Hi, I started developing a course in "Course Presentation". How can I move this to the "Course Catalogue" so I can continue developing additional sessions for the course?
I am new to this and I am stumbling and making lots of errors.
Thank you.
Denis
thomasmars
Mon, 01/23/2017 - 10:08
Permalink
Hi Denis,What is the "Course
Hi Denis,
What is the "Course Catalogue" ? Which of the H5P supported platforms are you using, is it Moodle ?
Usually you should just be able to press "save" or "create" in the editor and your H5Ps will be available to use however you wish. Could you give a few more details on exactly what you are struggling with ? Is it getting to the editor, saving work you have done in the editor or actually exposing saved content to the users ?
- Thomas
[email protected]
Sun, 02/05/2017 - 19:15
Permalink
Know user who's completed and how much he scored
Hi
I wish to create interactive presentation where in I present information and ask questions to the user, at the end of it - I as an admin should be able to see the user who completed the course and the score from my quiz.
Is it possible ? If yes, how?
Thank you!
tim
Mon, 02/06/2017 - 09:42
Permalink
Hi, you may have to set up a
Hi,
you may have to set up a few things to get scoring to work. For now, H5P only provides the front end interface and the scoring is handled by 3rd party Learning Record Stores.
abdgun
Wed, 02/08/2017 - 15:33
Permalink
Questionnaire in Course Presentation
Is it possible to add a questionnaire, survey or questions without correct answers in a CoursePresentation? It would be nice to use fill in the blanks, simple choice or multiple choice set without having correct answers.
tim
Thu, 02/09/2017 - 09:30
Permalink
Hi, that isn't possible yet
Hi, that isn't possible yet unfortunately.
shipravaidya
Thu, 02/23/2017 - 07:47
Permalink
this a good way of making
this a good way of making interactive packages. I am encountering a problm with course presentation. Have developed 4 slides till now. but on ;' view' am not able to move to next slde. Why. Only one slide is shown. help needed.
tomaj
Thu, 02/23/2017 - 08:27
Permalink
Developer console
Hi,
Can you press the F12 button on your keyboard, and select the "console" tab. Please copy, and post the error messages there to this forum. Maybe we can determine what happened.
- Tom
larstuff
Wed, 03/15/2017 - 06:55
Permalink
Summary not reset upon retake of "Quiz"
Hi. I really love this H5P interaction. It is very versatile. I have tried it out some, but not enough yet, so maybe what I am reporting really is not a problem. But when I press "Retake Quiz" after competing it, all questions exept the summary is reset. The summary remains in the state it was after being completed the first time. Is there a way to see to it that the summary is also reset upon taking the quiz again?
Lars Tuff
tomaj
Wed, 03/15/2017 - 08:46
Permalink
Hi Lars,Where to you have the
Hi Lars,
Where to you have the "Retake Quiz" button? Is it in the Drupal Quiz module? Or is it a renamed button in Course Presentation?
- Tom
larstuff
Mon, 03/20/2017 - 10:05
Permalink
Re: Retake Quiz
It's in the wordpress module
icc
Tue, 03/21/2017 - 14:49
Permalink
I'm not sure where you're
I'm not sure where you're seeing this. Could you upload a screenshot?
ILT
Wed, 03/29/2017 - 19:02
Permalink
Go to slide feature - ignore - I found where it is
Hi
I have just downloaded the tip of the week course presentation quiz How familiar are you with France. I am working in Moodle 3.2.
I see there is a Go to slide item in use - but don't know how to create this in my own course presentations.
Please advise.
Thanks
Lynn
thomasmars
Thu, 03/30/2017 - 10:32
Permalink
Hi Lynn,Make sure you have
Hi Lynn,
Make sure you have the latest version of Course Presentation from H5P.org, the "Go to slide" interactivit will be shown as an anchor in your button bar, when hovering on top of the icons you should see their names. Attached is a screenshot.
cpgotoslide.png
debbernard
Wed, 04/26/2017 - 06:44
Permalink
Background color in Course Presentations
Hi,
I want to change background color in course presentation slides and i believe i need to do that in CSS but Im not sure of the exact phrasing to use.
Any advice appreciated!
Edit to add: I followed the advice https://h5p.org/documentation/for-developers/visual-changes and the try I had at adding to the file was
<code>html.h5p-presentation .h5p-content {
background-color: #ffffff;
}</code>
that's clearly wrong though
thomasmars
Wed, 04/26/2017 - 08:57
Permalink
If you simply want to change
If you simply want to change the background color in Course Presentation slides you can achieve this in the authoring tool, no need to add any CSS. There is a background selector as the left-most option (a pencil icon) beneath the navigation bar (can be seen in https://h5p.org/sites/default/files/cp-img-1_2.jpg)
If you insist on changing the css or need it for something else the correct selector would be:
.h5p-course-presentation .h5p-presentation-wrapper { background: #fff; }debbernard
Wed, 04/26/2017 - 09:20
Permalink
Fixed
Thank you so very very much for your help.
That worked perfectly.
I changed using the css using your advice because I had 100+ course presentations to edit that were created prior to the update that added the background color selector.
Very grateful for your help! Thank you!
thomasmars
Wed, 04/26/2017 - 11:03
Permalink
Glad it worked out, happy to
Glad it worked out, happy to help :)
acop
Fri, 05/19/2017 - 11:53
Permalink
Slide Views In Course Presentation
Hi,
I am looking to use Course Presentation instead of SCORM. There is only one thing I have to have confirmed. We require our students to visit all slides. In SCORM students cannot move on until all slides have been viewed. If they try and cheat and only view one slide the course is not completed. Does Course Presentation have a setting to do the same thing?
Our students are adults and they tend to try and outsmart the system in online courses and skip the theory to go straight to the quiz.
Thanks in anticipation of your answer.
Anthony
thomasmars
Mon, 05/22/2017 - 09:28
Permalink
Hi Anthony,There is no such
Hi Anthony,
There is no such functionality currently in Course Presentation. You could suggest it in the "feature request" forum.
- Thomas
cpeterson
Mon, 09/25/2017 - 17:20
Permalink
WP Courseware excellent substitution for SCORM
I have successfully integrated WP, WP Courseware and H5P to achieve what you are looking to do and so much more.
Take a look at flyplugin.com and look for WP Courseware. I think you'll be pleasantly surprised as to what they offer and at a very, very affordable price.
Best regards
Pages